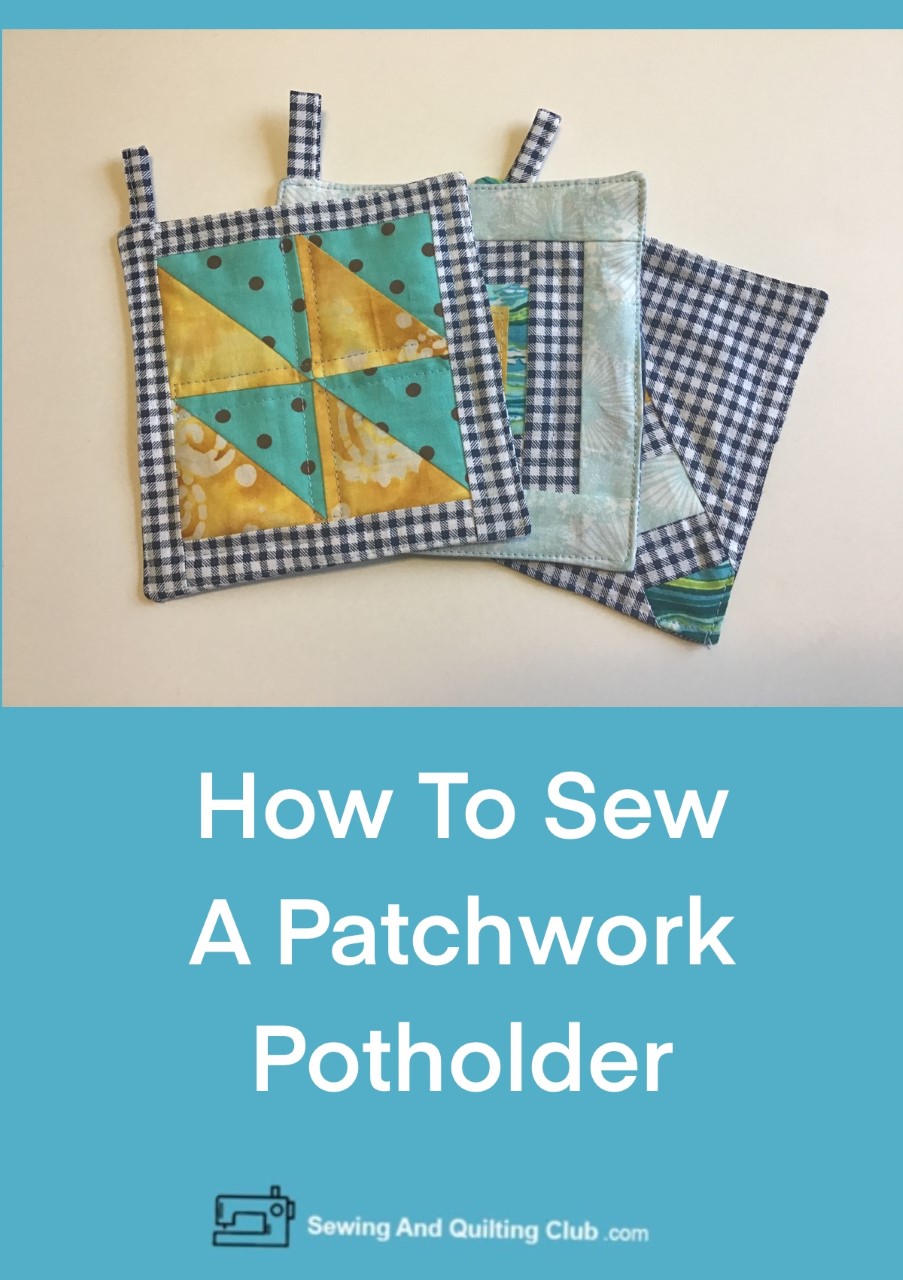
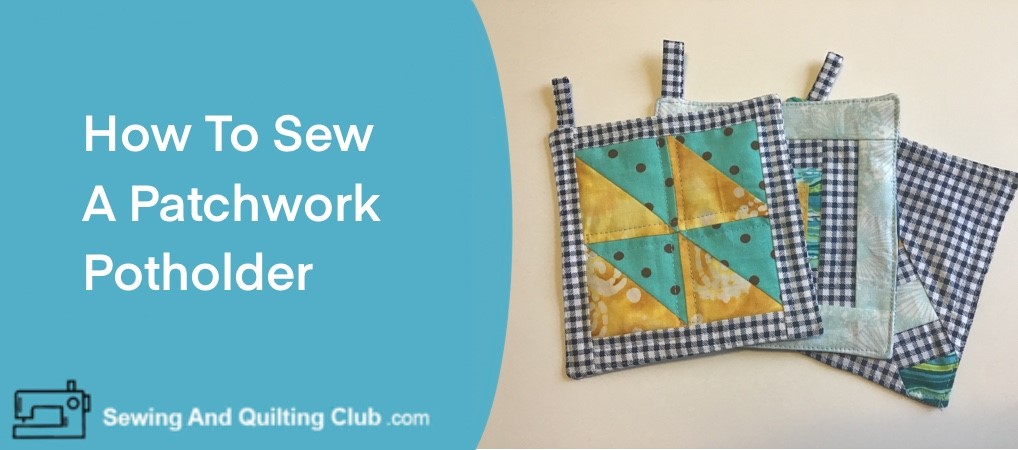
Sew Patchwork Potholder is an easy sewing tutorial to make a pretty potholder using those scraps of fabric from other projects.
When you love to sew, it’s so easy to make everything for your kitchen, today on this tutorial I will share the easy steps to follow to make a patchwork block using some scraps of fabric to make a potholder with it.
Whether you’re a beginner sewer who is looking for an easy sewing tutorial, or if you are an advanced sewer, I’m sure you will love it, and when you see how easy is to make it, you’ll be making more than one!
Sew Patchwork Potholder
Gather Your Materials And Sewing Supplies
- Scraps of cotton fabric
- Flannel or lightweight cotton fabric
- Thermal batting (Insul-bright)
- Coordinating thread
- Rotary cutter, patchwork ruler, cutting mat
- Scissors
- Pins
- Sewing machine
Sew Patchwork Potholder Step by Step
Step 1 – Cut Out Fabric Pieces
On this sewing tutorial, I will share the steps to follow to make an easy patchwork potholder with triangles.
As a first step you need to cut out 8 pieces of fabric, 4 pieces of each fabric. Using the rotary cutter, the patchwork ruler and the cutting mat, cut out 2 squares of each fabric of 2 1/2 x 2 1/2 inches, then cut each square of fabric diagonally to make two triangles from each square.
Pair the four pieces of each fabric to the four pieces, like it’s shown on the image below.

Step 2 – Stitch On The Patchwork Pieces
Lay all the blue pieces over the yellow pieces, right side to right side and stitch on the diagonal side as it’s shown on the image below.

Step 3 – Open and Press The Patchwork Pieces
Open each piece and press, you can trim out the small fabric point that’s shown on each piece with a pair of scissors or with the rotary cutter.

Step 4 – Stitch On Two Strips Of Blocks
To make the patchwork piece, it’s always better to work with strips, stitch on two pieces twice, to make two strips, press.
Stitch on one strip to the other to make a patchwork block.
Note: you can lay out the squares on anyway you like the most, as working with triangles on patchwork there are many options for you to make the layout of the four pieces.

Step 5 – Stitch On The Borders On The Patchwork Block
Cut out two pieces of fabric of 1 1/4 x 5 1/2 inches, stitch on each piece on the top and the bottom of the patchwork block, open and press.
Cut out two pieces of fabric of 1 1/4 x 7 inches, stitch on each piece on each side of the patchwork block, open and press.
When stitching on the borders, if the borders are bigger than the piece you’re working on, after you stitch the piece you can trim the piece out.

Step 6 – Cut Out All The Pieces For The Potholder
After you finish stitching the front piece or the patchwork block for the potholder, you can measure it to be sure of the size of the block.
I will share the size of the pieces I worked with, but to be sure, you can measure your block to cut out the pieces with accurate measures.
I will be working on this tutorial with two pieces of flannel as batting, but you can work with the thermal batting instead.
Cut out two pieces of flannel or one piece of thermal batting of 7 x 7 inches.
Cut one piece from the fabric for the back of the potholder of 7 1/2 x 7 1/2 inches.
Cut one piece from the fabric for the back of the potholder of 1 1/2 x 3 inches for the hanger.

Step 7 – How To Assemble The Potholder
Lay on your work table the fabric for the back, right side up and lay over it the patchwork piece right side down.

Lay the batting piece or the pieces of flannel over the patchwork piece, right side down, pinch one pin on each corner.
Stitch on the piece of fabric for the hanger, by folding both sides lengthwise 1/4 inch to the back of the fabric, fold the piece again lengthwise and top stitch all the piece.
Fold the stitched piece for the hanger inside the potholder, between the fabric for the back and the patchwork block, pin it.

Step 8 – Stitch On The Potholder.
Stitch on the potholder all around, 1/4 inch seam and leave an opening on one side of 1 1/2 inch. Trim the corners and turn the piece out.
With the help of a rounded point pair of scissors, push out the four corners from the inside.

Step 9 – Top Stitching The Potholder
Tuck inside the seams in the opening, pin it or baste it, and top stitch the potholder all around.

Step 10 – Machine Quilting On The Potholder
It’s now time to do some machine quilting on the potholder, this is a good way to start working on the quilting on a small piece as a practice.
Feel free to work on the machine quilting with any quilting design, I worked on it with a simple quilting.
I worked on the machine quilting with the all-purpose presser foot and 3.5 mm stitch length and straight stitching.

The Patchwork potholder is finished and it looks amazing!
When you learn how to Sew Patchwork Potholder, I’m sure you won’t stop making just one, below I leave two more ideas to work on different patchwork designs with the same fabrics.
Making a patchwork potholder is a fun sewing project you can work on to start learning how to make the patchwork and the machine quilting on a small piece.

Making a patchwork potholder is a great idea to make one or many potholders you might need it in the kitchen without the need to spend a lot of money purchasing some from the store.
Get creative and make as many as you want, these can be a perfect gift for a friend who likes to cook or for someone who is moving out soon.
Sewing a patchwork holder is a great idea to use those scraps of a pretty fabric you saved to make something with it after you finished a sewing project.
Is Sewing a Patchwork Potholder Good For a Beginner?
Yes, this is a perfect sewing project any beginner to make, it will help you to work on different steps to make your first patchwork block and an easy sewing project.
Don’t forget to have fun, a potholder doesn’t need to be perfect and it’s an excellent project to have fun with it!
What is the Best Sewing Machine To Make A Patchwork Potholder?
You can make the patchwork potholder with any sewing machine you have at home, but if you’re interested to look for a new sewing machine to work on different sewing projects without the need to break the bank, we recommend you to take a look to a basic computerized sewing machine by Brother (affiliate)
Sew Patchwork Potholder Final Thoughts
As always we hope you like this sewing tutorial, it can be on any sewing machine you have at home, it’s made with straight stitching and with the all-purpose presser feet, all you need to do is to find those scraps of fabric to work with.
Thanks so much for sharing our PIN on your Social Media!

More Easy Sewing Tutorials To Make:
- Sew Fabric Lunch Bag – How to sew a lunch fabric with a pretty fabric!
- Free Sewing Project Planner Template: When making a sewing tutorial, take notes so you can remember how you did it later.


This is such a cute little tutorial. I have sewn, crocheted, and woven potholders in the past but definitely none quite like this. These are quite cute so I’ll keep this page bookmarked. Never know when I’ll get the itch to start a new sewing project and this website sounds right up my ally.
Hello Alex,
Reading your post on how to sew patchwork potholder was a breath of fresh air. I used to watched my mother sewing when I was younger, and I thought oh my, it was just so fascinating to see her an action.
Ask me why I didn’t pick up this wonderful little trade, I have no idea.
I think is just amazing when you are able to make and design your own things, whether it be your own clothes, curtains, or patchwork potholders.
Great job, keep it up, and I wish you well.
Thank you for such an amazing post.
Nicole,