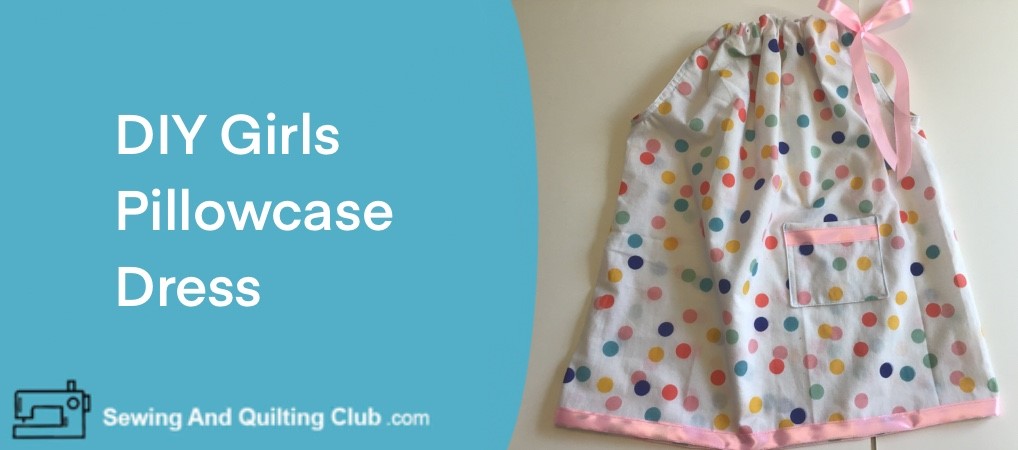
DIY Girls Pillowcase Dress, when looking for an easy and cute dress pattern to make for a young girl, you will love to make this one!
Whether you have a young girl at home or if you need to make a dress for a girl to give it as a gift on her birthday or on another special date for her, you can be sure she will love the pillowcase dress made by you.
All you need is to find a pillowcase made with a pretty fabric and follow the steps on this tutorial to make the dress in less then 30 minutes.
DIY Girls Pillowcase Dress
Materials and Sewing Supplies
- One pillowcase
- 3 mts of ribbon
- Scissors
- Patchwork ruler, rotary cutter and cutting mat
- Pins
- Sewing Machine
Related: 10 Must Have Sewing Tools
DIY Girls Pillowcase Dress Step By Step
Step 1 – Prewash and Press The Pillowcase
Prewash and press the pillowcase to be sure the fabric is clean and it won’t bleed.

Step 2 – Cut Out The Dress
Turn out the pillowcase to the wrong side of the fabric out, fold in the middle the pillowcase and lay it on your work table.
To make a dress for a girl size 4, cut the pillowcase 22 inches long.
On the sides end, mark with the patchwork ruler 7 x 1 inch for the armholes, draw a curve on the armhole.

With the help of a pair of scissors cut out both armholes.

Step 3 – Cut The Bias For The Armholes
A good way to finish the armholes will be by cutting a bias from the same pillowcase, you will need to cut strips of fabric with the help of the patchwork ruler and the rotary cutter on the cutting mat of 1 1/4 inch strips,

Stitch on the strips to make a long piece of bias, open the seams and press

Step 4 – Stitch On The Bias To The Armholes
Fold in the middle lengthwise the bias and press it, stitch on the folded bias on the right side of both armholes.

On the image below, you can take a look to both armholes with the folded bias stitched on. Flip the bias to the wrong side of the fabric and press, you can pin it so it can stay flat on the wrong side of the fabric for next step.

Step 5 – Top Stitch The Bias On The Armholes
On the right side of the fabric, top stitch on the edge all around each armhole.

Top stitch on the edge of the bias on the wrong side of the fabric.

On the image below, you can take a look to both armholes with the bias finished.

Step 6 – How To Make The Casing Top On The Pillowcase Dress
Fold under 1/4 inch and press on the top of the dress, do front and back of the dress at the same time.

Fold 3/4 inch again and pin it, top stitch both front and back of the dress, don’t forget to reinforce the beginning and end of the top stitching. Remove all pins.

Step 7 – How To Finish The Pillowcase Bottom Edge
There are a few different ways to finish the pillowcase bottom edge:
- Make a regular hem, fold the edge 1/4 inch under first and then fold the edge as much as you need for the girls height, make the hem by hand or with the sewing machine.
- Add a piece of fabric to the bottom edge.
- Add a ribbon to the bottom edge.
This time I will show you how to add a piece of ribbon to the bottom edge.

Sew on the ribbon on the bottom edge, place the ribbon on the wrong side of the fabric and sew on the ribbon with 1/4 inch of seam. Fold the end of the ribbon to make a good finish.

Fold the ribbon on the right side of the fabric and top stitching.

The Pillowcase Dress is finished and it’s time to feed the ribbon through the casing on top of the dress.

Step 8 – How To Feed The Ribbon Through The Casing On The Top Of The Dress
Pinch a safety pin on one end of the ribbon and feed the ribbon through the casing on the top of the dress, start on one side of the dress and feed the ribbon on the other side of the dress, pull out the ribbon on the same side of the dress.

Pull out the ribbon on the same side of the dress. Pull out the ribbon to make both ends measure the same, make a stitch on the back of the top of the dress to secure the ribbon.
When making this dress for a young girl or a baby girl, be sure to stitch the ribbon to the dress to avoid any hazard to the baby, and always keep the girl supervised.

Tie a bow on the ribbon and trim the ends.

The dress is done and it looks amazing.
Bonus: How To Sew A Pocket To the Pillowcase Dress
Cut Out The Pocket
With the help of the patchwork ruler, the rotary cutter and the cutting mat, it will be easy to cut two pieces of fabric of 4 1/2 x 4 inches for the pocket.

Stitch on one piece of the ribbon on one piece of the pocket on the right side.

Lay one piece of fabric to make the pocket over the second piece of fabric, and pin both pieces.

Stitch on the four sides, 1/4″ seam, and leave on the bottom an opening of 1 1/2 inch to turn the piece out. Trim all four corners with the help of a pair of scissors. Turn the piece out and push out the four corners with the help of a rounded point pair of scissors. Press.

Lay the dress over your work table and lay the pocket over the dress, pin the pocket to the dress, just on the front piece of the dress.

Stitch on the pocket to the dress, only three sides of the pocket, top side should be open. Reinforce the stitching at the beginning and at the end.

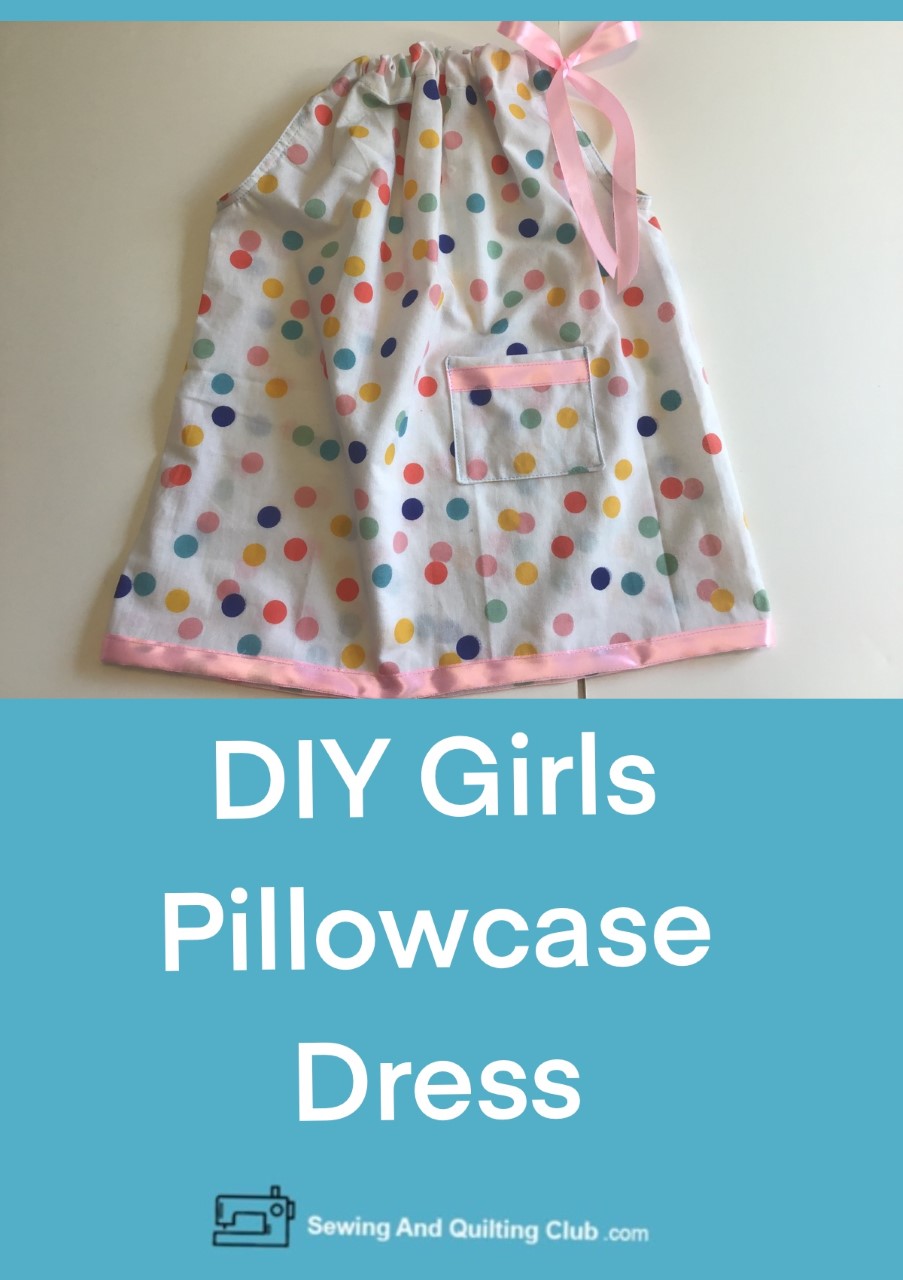
The Pillowcase Dress With A Pocket is finished and looks amazing!
I’m sure the young girl in the family will love it!
If you’re making the pillowcase dress with a pocket to give it as a gift, I’m sure everybody will love it!
DIY Girls Pillowcase Dress – Closing Thoughts
We hope you like this sewing tutorial to make a cute pillowcase dress, so easy that you might be making more then one!
If you’re looking for more sewing projects to make for a baby, you can find more here!
- DIY Stuffed Bunny Pattern – An easy tutorial step by step to make a stuffed bunny everyone will love!
- Baby Tag Blanket Tutorial – Learn how to make the Dressden Plate Tag Blanket, so easy then will take no more then 30 minutes to finish it!
Thanks so much for sharing our PIN on your Social Media!
Hi Alex. Thank you for great DIY article. I’m big fun of sewing and crocheting and Im always looking for new inspirations for myself and my family. Pattern looks easy and final result is very cute. With more time spent in home now this is perfect idea to do something more creative then watching TV, and Im sure it will bring lot of joy to kids. Thank you for great post, looking forward to test it in practice.
I love finding posts on upcycling and repurposing garments and other household items. I have upcycled a man’s shirt into a dress for my granddaughter, but I have not yet tried making a dress from a pillowcase, so I will certainly try your pattern. Thrift stores and second hand shops are often a great place to find household linen that is still in a good condition that I can then repurpose. Great post.
First and foremost, I appreciate the simple way you explained how to cut the bias of the armhole. You made it easy to understand. Top of it each of your images is very illustrative and easy to follow, and your detailed explanation has helped me watch against waste when cutting. Although I first found the pillow method difficult to follow, you made it easy and simple. Thank you