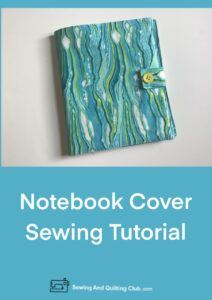
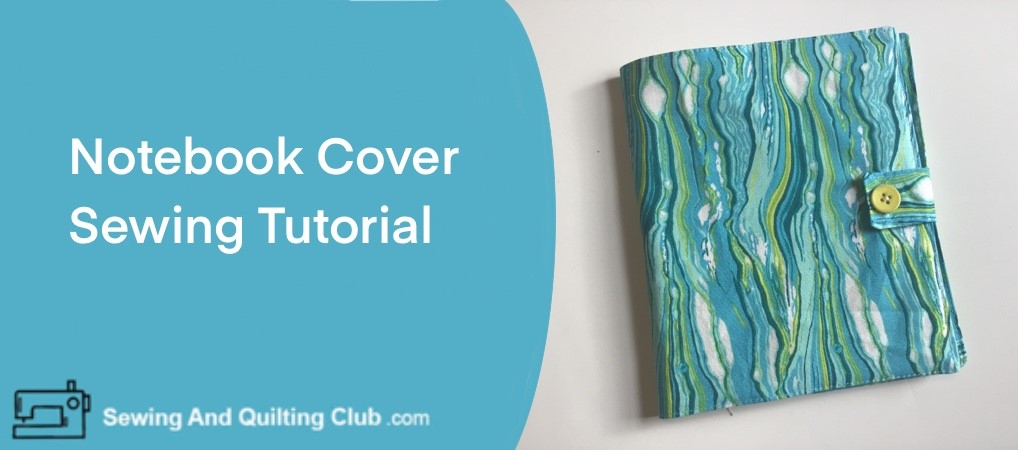
Notebook Cover Sewing Tutorial, this is an easy sewing project any sewer will love to make, when you love to take notes in a pretty notebook!
When you love to take notes whether it is for cooking, for sewing or even as a diary or a journal, you might be wondering how to turn a regular notebook into something unique and pretty.
When you know how to sew, nothing is difficult for you, any pretty piece of fabric you have saved for a small and easy project to make, today is the day!
I’m sure when you see how easy it is to make a notebook cover, you’ll be making more than one, for yourself and to give them away as a present for any of your friends who love to take notes about everything!
Notebook Cover Sewing Tutorial
Materials and Supplies
- 1 fat quarter of a cotton 100 % fabric, any color and print for the front of the cover.
- 1 fat quarter of a fabric, any color and print for the lining
- Pins
- Ruler for patchwork
- Rotary cutter
- Cutting mat
- Scissors
- Sewing Machine
*This post shares affiliate links, thank you for your support to our blog.
Step 1 – Cut Out All The Fabric Pieces
This time I’m working on a notebook cover for a notebook of 8.5 x 6 3/4 inches.
At home, I will recommend you to take the measures first from the notebook you have at home, once you take the measures, you can measure the pieces of fabric you will need for this tutorial and cut them out.
The steps on this tutorial will be always the same, no matter how big or small the notebook is.
Note: Prewash and press all the fabrics before you measure and cut any fabric.

Below there is a picture of the notebook I’m using for this tutorial, and you can see how I measure the notebook, the height of the notebook is taken one time, when the width is taken and then will be two times (open notebook, from one end to the other)

Step 2 – Sew On The Closing
Take the piece for the closing and fold the fabric in the middle and sew on three sides. Trim the corners and turn the piece out, press.

Top stitch the piece (three sides) and make a buttonhole, open the button hole with a sharp point scissors.

Step 3 – Prepare The Notebook Cover
Lay on your work table the fabric piece for the front of the cover, right side up, mark on one end the middle and lay over it the closure, pinch a pin.

Step 2 – Sew On The Flaps For The Cover
Sew on a 1/4″ hem on both flaps for the cover.
Lay the two flaps over the piece for the front of the cover on your work table, right side to right side.

Step 3 – Add The Lining To The Cover
Lay over the cover on your work table the lining, right side to right side and pinch a few pins to keep all the pieces together as you sew on all around the piece, don’t forget to leave a gap to turn the piece out on one side where the one flap is.

Step 4 – Clip The Four Corners
With a pair of scissors clip the four corners to avoid any bulk.

Step 5 – Turn The Cover Out.
Turn the cover out by the gap you left when sewing the piece, and push with your fingers or with a rounded point pair of scissors all the seam out from the inside, press.

Top stitching the cover all around, at the same time you do this step you will be sewing to close the gap.
Sew on a button and the cover is ready to be used.

Insert the notebook in the cover.

The notebook cover is finished and it looks amazing!

I’m sure when you finish the first cover for a notebook, you will be making more than one, if you want to learn how to make a patchwork notebook cover, you can visit this blog.

I hope you like this new easy sewing tutorial to make any sewer, beginner or the more advanced will always love to make.
If you have on your sewing projects to make list, a friend who loves to take notes about everything, I’m sure your friend will love to get a pretty notebook with a cover made for you.
How To Wash The Notebook Cover?

As the cover is well-made with a lining inside, you won’t have any problem to put it in your laundry machine with the rest of the laundry.
After is washed, you can press it and it will be ready to be used on a new notebook.
What Is The Best Fabric To Make A Notebook Cover?
I’m pretty sure you can use any fabric to make the cover on this tutorial, from a thin fabric like cotton or linen, or a fancy fabric like tafetta or silk, and if you have a teenager on your list to make a project for, you can also make the cover with a denim fabric.
What Sewing Machine Do You Need To Make A Notebook Cover?
When you use a thin fabric, you don’t need any special sewing machine to make it, in case you want to make it with denim or other type of thicker fabric, you might want to use a Heavy Duty Sewing machine.
To make this notebook cover I use a Brother Computerized Sewing Machine, straight stitching 3.5 mm and zigzag stitching to make the buttonhole, with multipurpose presser foot.
Notebook Cover Sewing Tutorial – Closing Thoughts
We are happy to share an easy to make sewing tutorial that we are sure you will love to make it, this tutorial is for any beginner sewer who is looking for an easy sewing project to make, but we are sure more experienced sewers will love to make the notebook cover too.
We hope you like this tutorial and have fun making it – Happy Sewing!
More Sewing Tutorials to Make:
- Sew Fabric Lunch Bag – How to sew your own lunch bag with a pretty fabric.


Thank you for this informative article. I think a book cover such as the one you taught about makes a nice statement. My mom is an avid sewer and quilter. I think she would love this pattern to make. I will pass this along to her and hopefully, I can get a couple made from her to cover my notebooks.