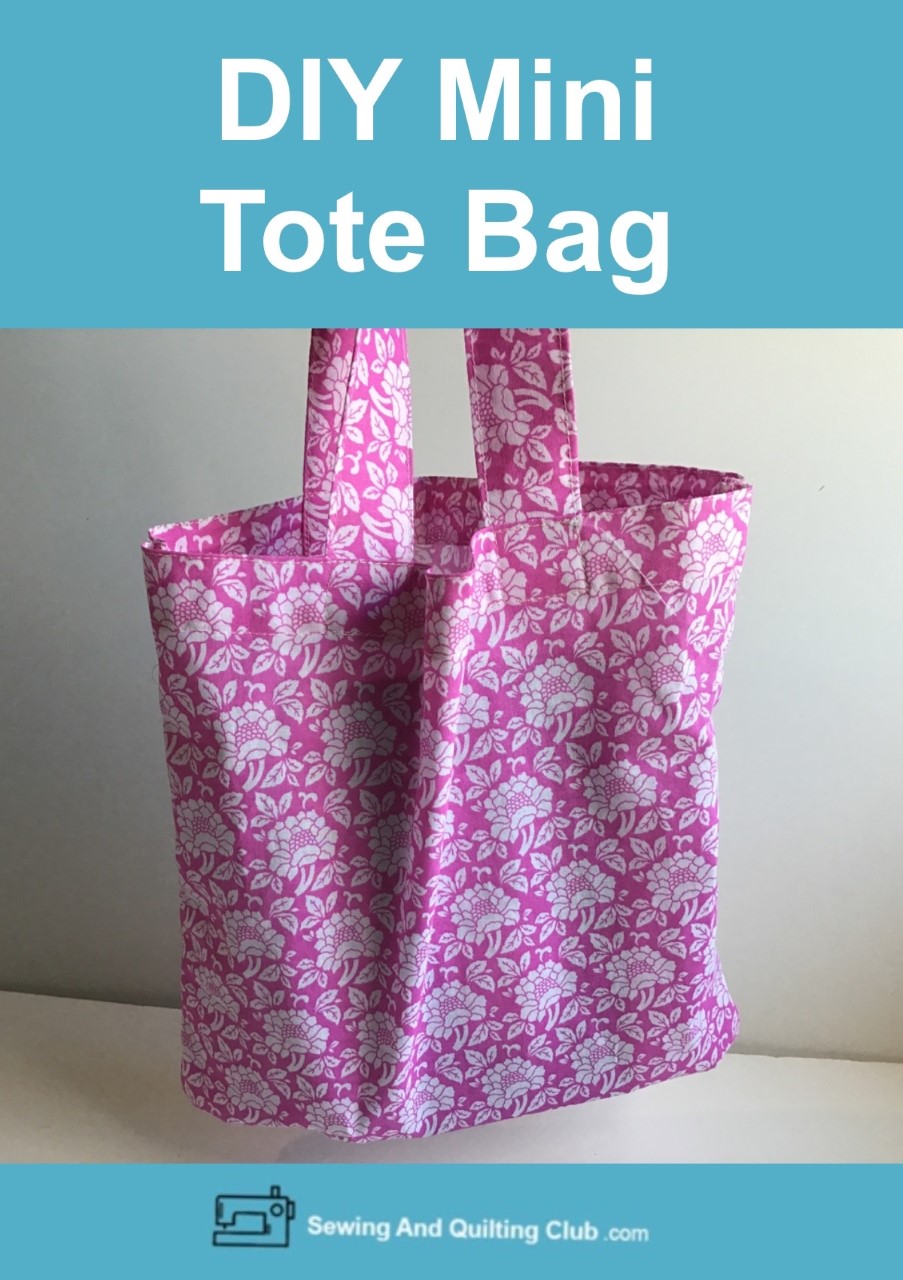
The Mini Tote Bag is a great sewing project for beginners and more advanced sewers that want to make an Eco bag for small shopping!
As many people around the world are getting more interested on making their lives better, stopping to use any type of plastic bags in on top of their to do list, tote bags are back, and when you love to sew, you can make many different types of green bags.
Making a mini tote bag, is a great idea to keep it in your purse or in your car, and you can use it for small shopping, whether you purchase one or two things at the grocery store or at the pharmacy.
Mini Tote Bag
The mini tote bag step by step tutorial, is a project any beginner can do, as this bag is made with straight stitching, with all-purpose pressing feet, and easy steps to follow.

1. Cut Your Fabrics
To make a mini tote bag you will need:
- 1 piece of cotton fabric of 13 x 26 inches
- 2 pieces of cotton fabric of 2 x 20 inches, to make the two bag straps.
- Sewing machine
- A pair of scissors
- Patchwork ruler
- Rotary cutter
- Cutting mat
- Pins
- Polyester thread
As this sewing project is good for beginners and more advanced sewers, you can do it on a basic sewing machine, without the need to break the bank.
2. How To Sew The Tote Bag Straps
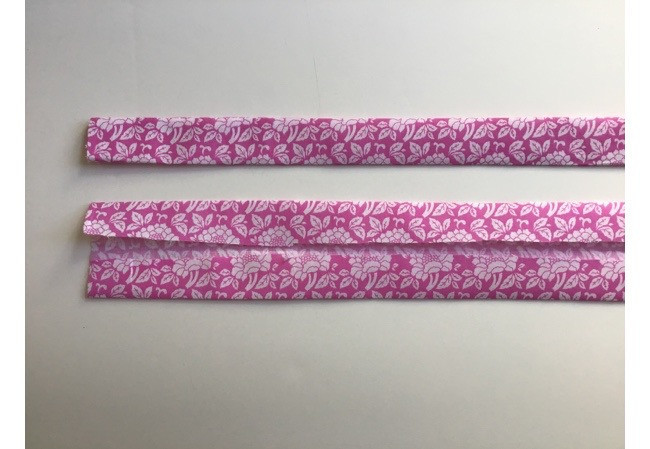
Lay the two pieces of fabric to make the tote bag straps on your ironing board.
Take one piece of fabric at a time, and fold both sides to the center, press. fold in the middle lengthwise and press again, you can pinch a few pins to hold the piece folded. Follow the same steps to make the second strap.
Each end on each straps should be folded inside 1/4 inch.
Top stitching on the edge, all around each strap.
3. How To Sew the Tote Bag Opening
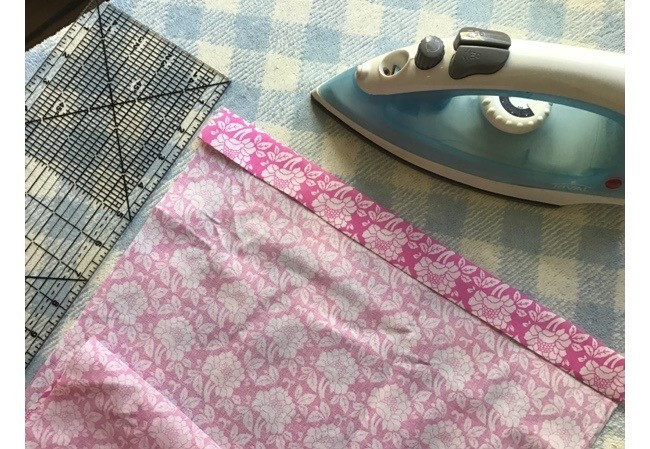
Lay the piece of fabric for the tote bag on your ironing board, and fold to the back 1/4 inch on each end and press, fold 1 inch to the back each end and press.
Top stitching the fold on your sewing machine.
4. How To Sew The Straps On The Mini Tote Bag
Lay the mini tote bag on your work table, pretty side down, fold each end in the middle to mark the center point, you can do it with a pin, or you can mark the middle point with a pencil or a marker for fabrics.
With the help of a ruler, mark 2 1/2 inch to both sides of the middle point on each end, place one strap on each end of the bag. Pinch a pin to hold each end in its place.
Sew on each strap end to the bag. You can sew the stitching in the shape of a square on each strap end, this will give more strength to the bag.

5. Hot To Sew The Mini Tote Bag
This time you will do a French seam, this will give more strength to the mini tote bag, so you can carry your purchases with more confidence.
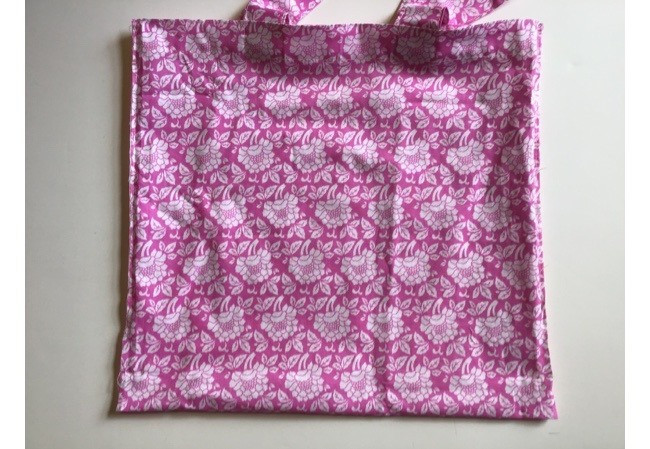
Lay the piece on your work table, pretty side down, and fold the piece in the middle, pretty side should be out, sew on both sides 1/8 inch seam allowance, reinforce at the beginning and at the end of each side.
6. How To Do The French Seam
Turn the inside out, and lay the tote bag on your work table, you can press both side, fold the bottom of the bag 1 inch up to one side of the bag, pinch a pin on each side to hold the fold in its place as you sew on 1/4 inch seam allowance on each side.
Reinforce each the stitching, at the beginning and at the end on each side.
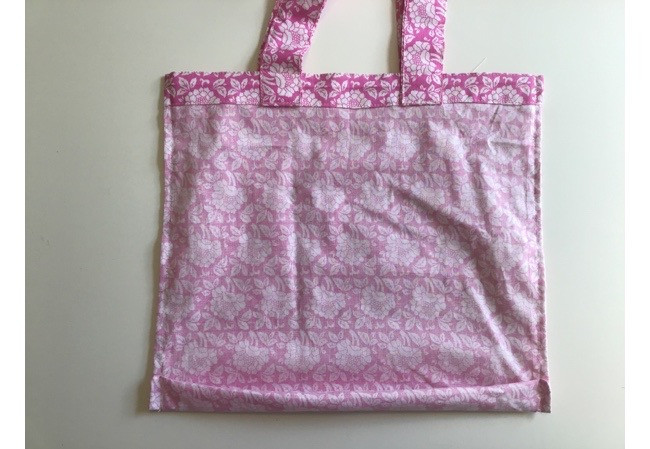
The fold you made on the bottom will make the mini tote bag bottom flat.
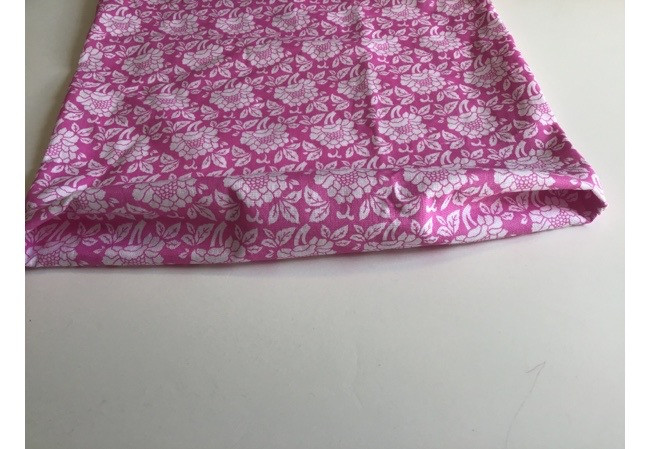
The Mini Tote Bag is all done and it’s ready to be used.
Note: If you’re using a thick fabric to make the mini tote bag, skip making a French seam, you can fold the back in the middle, pretty side inside, and make the fold in the bottom, sew on both sides 1/4 inch seam allowance, and cover the seam with a bias, or do an over lock stitching on both sides.
I’m sure, when you see how easy it is to make the Mini Tote Bag, you will be making more than one, keep them in your purse or in your car, so you can use them anytime you need to make a small purchase, or you need to carry one or two things with you.
Related:
Thanks so much for reading my blog today and feel free to share this sewing tutorial in all your Social Media!
