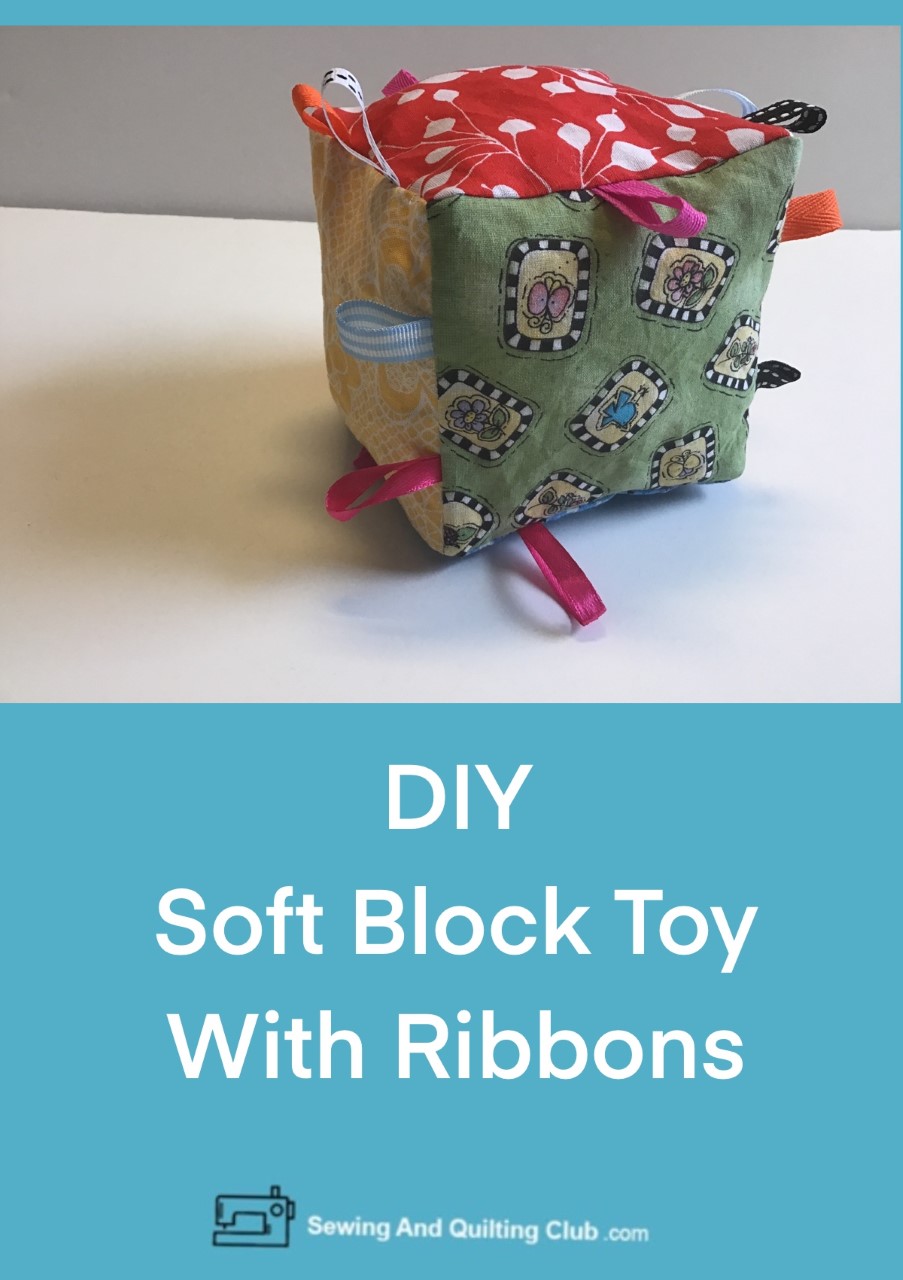
DIY Soft Block Toy With Ribbons will give you the steps to follow to make a fabric toy for the baby at home or to give it as a gift at a baby shower.
Handmade toys for a baby are easy to make and it will take only a few minutes to finish it, the only problem you might have is to chose between making it with soft pastel color fabrics or with bright colors!
This is an easy sewing tutorial for beginners of more advanced sewers, we are sure you will love to make it!
DIY Soft Block Toy With Ribbons
Materials and Supplies
- 6 pieces of cotton fabric assorted colors of 4.5 x 4.5 inches
- Assorted color, type and length ribbons
- Soft pillow stuffing
- Pins
- Patchwork ruler (affiliate), rotary cutter, cutting mat
- Scissors (affiliate)
- Sewing Machine (affiliate)
*This post shares affiliate links, thanks for your support to our blog
DIY Soft Block Toy With Ribbons Step by Step
Step 1 – Get All The Materials To Make The Soft Block Toy
I will be making the soft block toy with 6 pieces of cotton fabric, each one on a different color, but you can use 4 pieces of cotton fabric and 2 of chenille fabric.
On this sewing tutorial, I’ll be working with 6 fabric pieces of 4.5 x 4.5 inches. At home, you can work on a different measure but all the pieces need to be the same size.
When you cut all the pieces of ribbon for this tutorial, you can cut each one of the pieces the same size or with different length or width.

Step 2 – Pin All The Ribbon Pieces On 3 Pieces Of Fabric
Fold in half each piece of ribbon and pin it on one square of fabric at a time, you can pin one or two pieces on each side of the square of fabric, I only did this step on 3 pieces of fabric.
Stitch on each piece of fabric to remove off all the pins, stitch on the edge, 1/8″ seam.

Step 3 – Sew On Four Pieces Of Fabric
Lay on your work table four pieces of fabric, (reserve two pieces of fabric with the ribbon on for the top and bottom of the block).
Pin the four pieces of fabric and stitch on to make a strip, leave a gap open on one to turn out the soft block toy.

Turn the piece right side down and press seams open.

Step 4 – Sew On One Piece For The Bottom
Take the strip of squares and stitch on to close, right side to right side, open seam and press with your fingers.
Take one piece for the bottom and pin it to the piece with 4 pieces, seams need to match with the corners of the piece, stitch on 1/4″, stitch on four sides.

Step 5 – Stitch On The Last Piece Of Fabric
Repeat the same steps on step 4 to stitch on the last piece of fabric.

After stitching on the last piece, the soft block toy should look like the image below.
Turn the piece out and push gently with your finger tips or with a rounded point scissors each corner.

Now, you can fill it with soft pillow stuffing. You can decide whether to stuff it lightly and keep the block soft or you can fill it up more.

Step 6 – Sew On To Close The Soft Block Toy
When it’s time to sew on to close, you can decide whether to do it on your sewing machine or by hand, I did it on the sewing machine and it looks good. Don’t forget to reinforce the stitching to make it safer for the baby.

What Are The Best Fabrics To Make A Soft Block Toy For A Baby?
I like to make it with cotton fabric with a different color each piece as it can be used to help the baby to learn about different colors, another thing you can use when working with cotton fabrics is to find fabrics with different motives on each fabric, this way the baby can learn more like: animals, flowers, fruits and more.
You can also use different types of fabrics to help the baby to know more about different textures.
How To Wash The Soft Block Toy?
It can be washed on the laundry machine with the rest of the baby clothing on a gentle washing cycle and with a soft or natural laundry soap.
It can be put in the dryer or it can let to dry out.
Can A Beginner Sewer Make A Block Toy?
Sure, this is a good sewing project for any beginner!
If you have hard times to make it, you can also baste it before you stitch on each step on your sewing machine, basting the piece will help you to get it done easier.
Do You Need A Special Sewing Machine To Make A Fabric Block Toy?
You can make the Fabric Block Toy with any sewing machine you have at home, I use a Brother Computerized Sewing Machine, with a multipurpose presser foot and straight stitching (3 mm)
Note: When making a sewing project for a baby, always be sure to reinforce all the stitching, and avoid using any notions that could be a risk for the baby like buttons, bead and other things.
Never leave unsupervised the baby when playing with the soft block toy.
Soft Block Toy With Ribbons Closing Thoughts
Making a fabric soft block toy for the baby at home or to give it as a gift at a baby shower is a sewing project any sewer will love to make.
The steps to make it are easy to work on and you can make it on less than 30 minutes!
We hope you like this sewing tutorial and we are sure when you see how easy is to make it, you’ll be making more than one!
Have fun making it, and leave a comment to let us know if you made one or more! (You can leave a link on your comment we’d love see it!
More Sewing Tutorials To Make For A Baby:
- Patchwork Bib Pattern And Tutorial – An easy patchwork bib any sewer will love to make!
- Girls Skirt Sewing Tutorial – Learn how to make an easy skirt any girl will love!
You can follow Sewing And Quilting Club on Pinterest!
Save the Pin so you can find this tutorial easily again!


Although I know nothing about sewing or making baby toys, I thought this tutorial was excellent. It seemed easy to follow and the directions were an easy step by step. It really is an adorable little block toy that any baby would be lucky to have as a shower gift.