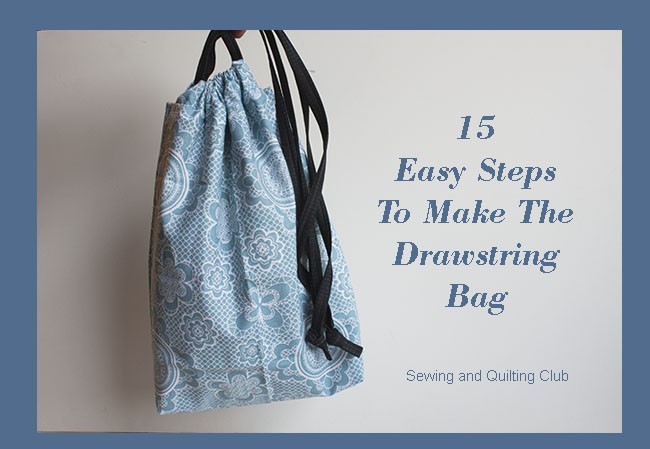
15 Easy Steps To Make A Reversible Drawstring Bag is an easy tutorial to follow that will help you to make this pretty, light and useful bag!
It’s an easy sewing tutorial for beginners and for advanced sewist that will be finished in less than one hour of sewing!
The reversible drawstring bag is eco-friendly and handmade by you, you can use it for anything you want to, go to the groceries store, carry your personal things in it or to give it to a friend as a gift.
Materials you need to make the Reversible Drawstring Bag
- 2 rectangles 22 x 11″
- 2 drawstring casing rectangles of 11 x 3″
- 1 rectangle of 7 x 5 ” (inside pocket)
- 2 pieces of cotton cord of 26″ each one.
- You will need also
- Sewing machine, a pair of scissors, patchwork ruler, rotary cutter, pins, safety pin, cutting mat.
You can check the list of tools to have in the sewing basket for all your sewing projects here!
Tutorial to make a reversible drawstring bag
1. Cut all the pieces of fabric you’ll need to make the bag.

2. Fold 1/4″ on the top of the piece of fabric to make the inside pocket twice and sew on with your sewing machine.

3. Make a fold of 1/4″ on the 3 other sides of the fabric rectangle and press.

4. Lay the inside pocket on the fabric for the lining and pinch a few pins, sew on the three sides of the pocket.

5. Fold in the middle the two fabric rectangles to make the bag and sew on one side and the bottom on each piece.

6. With the help of a patchwork ruler draw a 1″ square on each piece on both sides of the bottom, be sure to draw each square inside the fold and the seams.
Note: Leave 2″ opening (no sew) on the lining piece on the side to turn out the bag later.
Cut out each square with the help of a pair of scissors.

7. To sew the boxed bottom of the bag, open each square you cut off on each piece of bag and meet both sides of each corner, pinch two pins and sew on each corner.
After you sew on each corner of the two pieces for the bag, they should look like this on the photo below

8. Take the two rectangles of fabric to make the drawstring casing and fold twice 1/4″ on each end, sew on.

9. Fold in the middle all the way along of each piece of fabric and lay each piece on one side on the top of one piece of the fabric, pinch a few pins to maintain the piece in its place while you sew the piece with your sewing machine.

10. After you finished running your sewing machine all around the top of the bag, you can remove the pins.

11. Turn out the piece for the lining and place it inside the bag, right side of the fabric to the right side. Pinch a few pins and run your sewing machine all around the opening of the bag.

12. Take out the lining from the bag, and it should look like this. Turn out the whole piece from the open space you left on the lining piece.

13. Fold inside the seams from the opening and sew on.

14. Push inside the lining of the bag and press, pinch a few pins to hold the fabrics and sew on all around the opening, 1/4″

15. Thread the cord through both sides of the top and tie off
Each cord needs to be enter and exit from the same side, so you have the two threads on both sides of the bag.

Well done, the reversible drawstring bag is finished and it looks amazing!
 You can make one or many reversible drawstring bags like this one, you can make it the same size or make it smaller or bigger, all you need to do is to follow the sames steps no matter how big or small you cut the rectangles of fabric to make it.
Thanks so much for stopping by to read my tutorial today, come back soon to get more sewing tutorials for beginners and advanced sewists.
Enjoyed this sewing tutorial? Give my pin a share!
You can also read:
- DIY Eco Friendly Fabric Gift Bags, whether you use them for giving a present on a Birthday or during the Holidays, you can be sure these gift bags will be used more than once!
- DIY Reusable Grocery Bag – Help the planet to go green, this is an easy sewing project to make!
Thanks so much for reading my blog!