When you love to do embroidery, working with a hoop is essential, as it keeps the fabric taut while you work on your project, helping you to get the best results from your needlework.
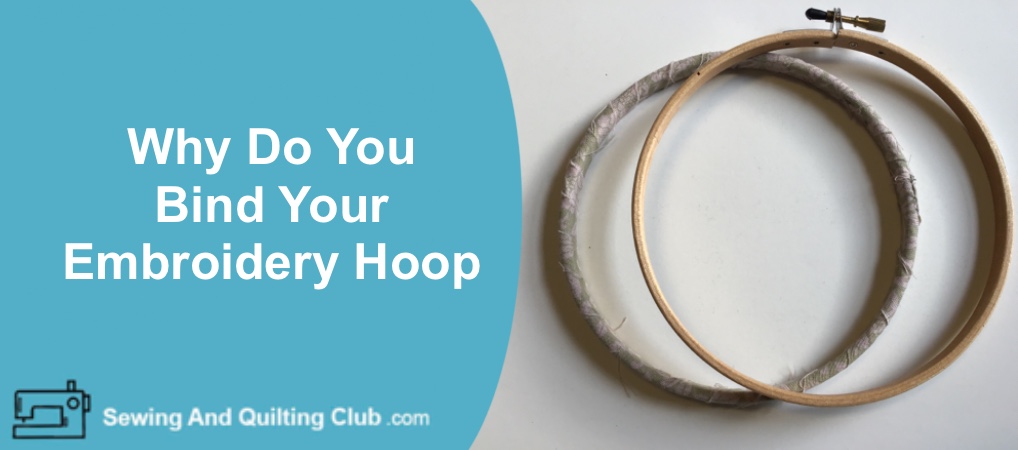
Why Do You Bind Your Embroidery Hoop? When you wrap a strip of fabric on the inner ring of your wooden hoop, this helps to protect your fabric and it also helps to keep your fabric taut while you do the embroidery stitching on it.
If you have been doing some embroidery before, you know that working with an embroidery hoop will make a huge difference and it will help you to work with ease on your needlework, but sometimes you might have noticed some hoops do not keep your fabric taut all the time, as there might be some gaps between the two rings on the hoop.
One easy solution for this problem is to wrap a strip of ribbon or fabric around the inner circle of your hoop, this trick will give more strength to the hoop and it will also protect your fabric while you keep it on the hoop.
How To Bind An Embroidery Hoop
Binding the inner ring of your embroidery hoop is easy and it will take only a few minutes to get it done, and the benefits are many.
Here is what you need to bind the inner ring of your embroidery hoop:
- A piece of ribbon or a strip of fabric, I usually use some cotton fabric.
- One or two pins or pins for sewing, to hold the beginning and the end of the ribbon or the strip of fabric you’re using.
- A needle
- All purpose sewing thread
- The inner ring from an embroidery hoop
To begin wrapping the ribbon or the strip of fabric on the inner ring, you need to separate the two rings from the embroidery ring and take the inner ring in your hands.
Take the ribbon or the strip of fabric in the other hand, place one end of the strip on any point of the inner ring, and start wrapping the ribbon or the strip of fabric around the inner ring. At the beginning you can glue the end of the ribbon or the strip of fabric to the inner ring, you can also hold it with a pin, but in most cases this is not necessary. You can hold with your fingers the end of the ribbon or the strip of fabric and as soon as you start wrapping the inner ring, the ribbon or the strip of fabric will hold it.
Keep wrapping the inner ring with the material you’re using all around the inner ring, with an angle to prevent overlapping the material, when you reach the point where you began, the inner ring will be covered entirely, to secure the tail end, do some small stitches with your needle and all-purpose thread.
Another option will be to glue the tail end with a few glue drops, but I prefer to stitch the tail end to the fabric on the hoop ring, as the glue might lose its strength as you use the hoop on your projects.
How To Work With A Hoop With A Binded Inner Ring
When you’re ready to start working on a new embroidery project, place your fabric on the inner ring and when you’re ready to place the outer ring, you will need to adjust the screw on the outer ring, so it fits loosely over the inner ring with the biding holding your fabric. Now you can tight the screw on the outer ring to secure your fabric. Now, you’re ready to start working on your next embroidery project!
Related Posts:
Thanks so much for reading my blog and sharing it on your Social Media!
