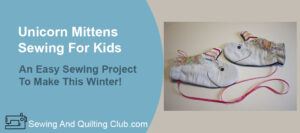
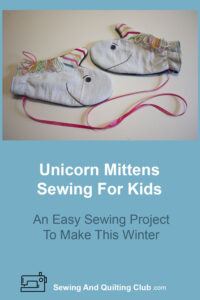
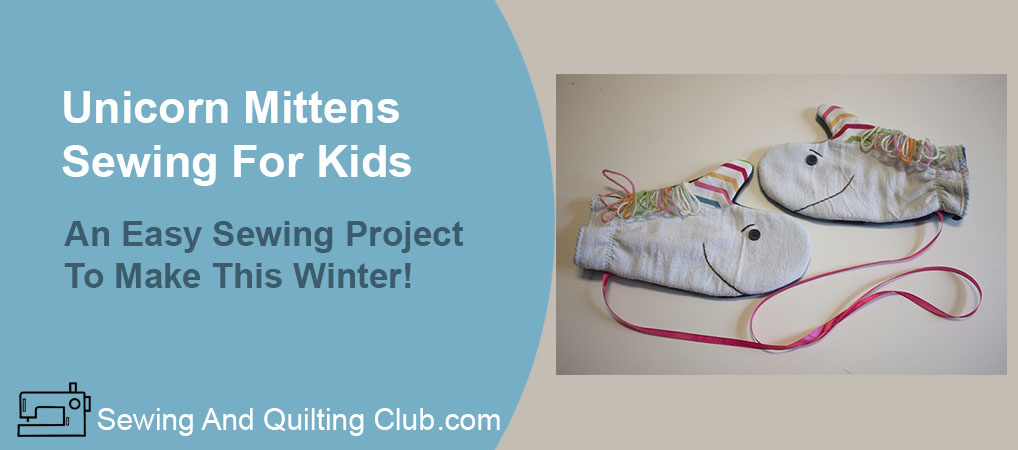
The Unicorn Mittens Sewing For Kids, is a fun project to make today, a creative way to sew a pair of mittens your kids will love to get!
Whether you’re looking to sew a pair of mittens for your kids before the weather gets too cold or if you want to make them to give your children a special gift for the Holidays made by you, I’m sure you will love to see how easy is to make the unicorn mittens.
This project may be made in one hour of less, as I did the mouth and eyes brown with hand embroidery, but you can make it with you’re sewing machine and it will help you to finish the mitten in less time.
 Fleece is a soft fabric to work with and you can decide what color to use, as unicorns are always cute no matter what color they are, from white, pink, blue, or violet, unicorns always look good.
You can choose to work with thin or thick fleece, or to make the mittens with a double layer of fleece, to be sure your kid’s hands will be always well protected on those cold winter days.
Unicorn Mittens Sewing For Kids
Unicorn Mittens Materials
- 1/2 yd fleece
- 1 fat quarter white cotton fabric
- 2 fat quarter different color stripes cotton fabric
- Paper, pencil and marker to make your own pattern
- Yarn in different colors
- 2 black small buttons
- 1/4 inch elastic
- Black thread
- Sewing thread matching fleece color
Sewing Supplies
- Sewing machine
- Multi purpose presser foot
- Scissors
- Pins
Unicorn Mittens For Kids Step by Step Tutorial
1 – Easy To Trace Mitten Pattern For Kids
If your kid is around ask him/her to place one hand on a piece of paper (A4) and trace your kid’s hand with a pencil.
With the same pencil trace the mitten adding enough distance to make the mitten comfortable enough to be used, you can trace as many times with the pencil until you like the shape of the mitten on the paper, then you can trace the mitten with a marker now.

2 – Get All The Materials
You might have in you’re sewing room everything you need to make the unicorn mittens.

3 – Cut Out All The Pieces Of Fabric To Make The Unicorn Mittens
You will need to cut out all the pieces of fabric to make the mittens.
- 4 pieces from the fleece, add 1/4 ” for the seam
- 2 pieces from the white cotton fabric, add 1/4″ for the seam
- 2 pieces from the colored striped fabric – lay over the colored striped fabric the mitten pattern and trace with a pencil the thumb, add 1/4″ seam and cut round on the thumb bottom

4 – Trace The Mouth and Eye Browns Lines
With a pencil, trace the mouth and eye brown line on the paper pattern, lay over the paper pattern each white fabric piece and trace the mouth and eye brown lines on the fabric with a pencil or a pen for fabrics.

5 – Hand Embroider The Mouth and Eye Brown
At home, I did the embroidery by hand, but if you want to make it with you’re sewing machine, it will look great too.
For the hand embroidery I used two threads of gray embroidery floss from DMC.
Sew on a navy blue button on each piece for the eyes.

6 – Applique The Unicorn
On this step you will do the applique of the unicorn, lay the colored striped fabric on each piece where the thumb goes, this time I did the applique with a small zigzag stitching with light blue thread on the sewing machine, with a raw edge.
To sew on the unicorn mane, I cut a few strands of yarn of different colors and I folded each yarn in the middle and place the folded yarn right next to the unicorn, I sew on with straight stitching. Don’t trim the yarn yet.

7 – Sew On To Close One Mitten Side
On this step, lay over each unicorn, one fleece piece, pinch a few pins and sew on with you’re sewing machine on the side where the unicorn mane is. You can trim the yarn now.

8 – Sew On The Elastic On The Mittens
To know how long the elastic should be, you can measure your kid’s wrist and take off 1 inch or 2.5 cms from the measure to make them comfortable to use.
To sew on the elastic on the mittens is easier to do this step with the zigzag stitch, you can take a look to how I did that on my sewing machine, zigzag stitching is #4, stitching length 2.5 and stitching width is 5.0.
Start to sew on the elastic from one edge of the open mitten on the inside side, and run your machine a couple of stitches, then you can pull the elastic a little and sew on the elastic to one half of the mitten.
When you arrive to the half of the mitten with the elastic, pull out a little bit of the elastic to reach the end of the second part of the mitten, sew on to reach the other side and make a couple of stitches on reverse.

On the picture below, you can see how both mittens looks with the elastic on.

9 – How To Finish The Mittens
For the mittens finish on the wrist, I decided to sew on with an overlock stitching pattern, at home you can decide to do the same as I did, or you can sew on a lace with zigzag stitching or to add a bias on the edge.

10 – Sew To Close The Mittens
Now it’s time to sew to close the mittens, all you need to do is to fold in half each mitten and pinch a few pins.
Sew on with you’re sewing machine, straight stitching set up to 3 mm length and sew on all around each mitten.
Note: When I came to live to Quebec, I saw Canadian parents sew a piece of ribbon to both mittens so kids don’t miss them.
I found this was a clever idea to help kids to always keep both mittens.
I noticed parents put the mittens on the kids winter jackets or coats so the ribbon stays on the back of the kids as they wear their jackets or coats.
When kids are not using their jackets or coats, mittens stay there, what a clever idea to help kids to have both mittens together always!
This is why I added a piece of ribbon as I was sewing on to close each mitten.
You can trim each mitten and make some small cuts with your scissors on all rounded shapes of each mitten. You can decide whether or not to run you’re sewing machine all around the edge of each mitten with an overlock stitching pattern, I decided not to.
Turn out each mitten and punch out each mitten to give it a good shape from the inside with your fingers, fleece is really so soft a material to work with.

11 – Voila, The Unicorn Mittens Are Ready

I hope you have as much fun when you make the unicorn mittens for kids as I did.
This is an easy sewing project to do that I’m sure will make happy to many kids.
You always can skip to use the cotton fabric and use only fleece on white or light pink, blue or purple, I’m sure your kid will love it.
FAQ For The Unicorn Mittens Sewing For Kids
Do You Need A Special Sewing Machine To Make The Unicorn Mittens For Kids?
No, you can make the unicorn mittens on a domestic sewing machine, fleece and cotton fabric are easy to sew fabrics and you won’t have any problem to sew on this project on you’re sewing machine.
My Sewing Machine Has No Overlock Stitching Pattern?
If you’re sewing machine has no overlock stitching pattern, you can use the zigzag stitching pattern or you can finish the mittens sewing a fold, just remember to add at least 1/4″ to 1/2″ on the bottom.
Unicorn Mittens Sewing For Kids Closing Thoughts
 As winter is here, I’m sure many young kids and not too young, would love to get a pair of unicorn mittens made by you.
This is an easy sewing project to make that will make your children happy. You can give them to your kids anytime, as they will make a perfect gift to sew for the Holidays!
Now it’s your turn, are you making the unicorn mittens in white as I did, or you will be making them in a different color?
Happy Sewing!


How fun! I have older kids now so they are not too interested in Unicorn Mittens but I love the idea! I think this could be a great craft idea for say a daycare or a cub scouts / girl scouts troop craft and gift ideas. When I was a cub scout leader, we were always challenged with coming up with gift ideas. With this, you could have all the kids making the mittens and just one person that is good with a sewing machine doing all the sewing. Thanks for sharing!
What a fun project! It’s cool to see websites and content like this that really show how creative you can get with things laying around the house. It’s also great practice for sewing and a fun activity to do with your kids. Thanks for sharing and I’m looking forward to more family friendly projects