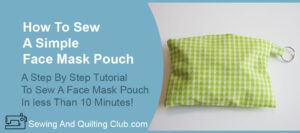
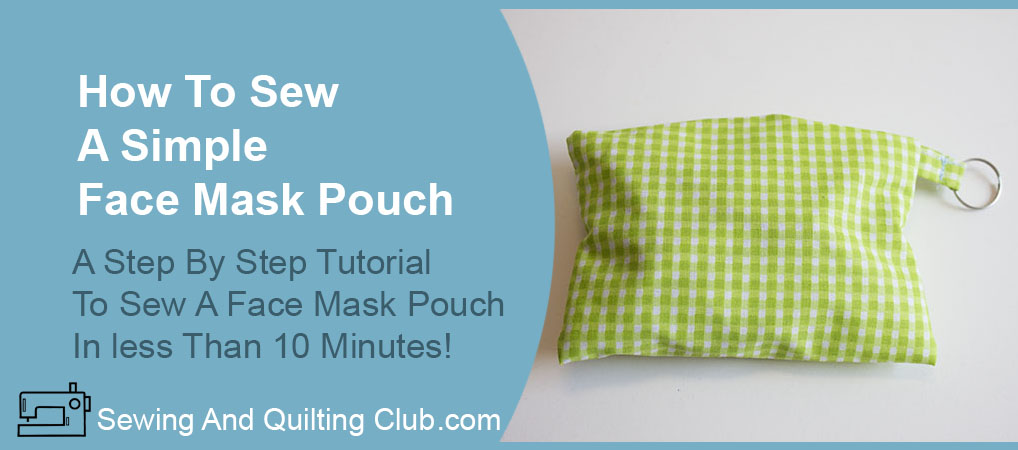
How to Sew A Simple Face Mask Pouch is the perfect sewing project for a beginner who wants to start sewing something easy but cute and useful.
 Whether you use the pouch to carry with you a face mask or something else, this project is easy and simple to work on, it will help you to learn the basics of making a pouch.
The skills degree on this sewing project is easy and any beginner will love to make it, I’m sure after you see how easy it is to make it, you’ll be making more than one!
Sew A Simple Face Mask Pouch
To Make One Simple Face Mask Pouch You Will Need:
- Piece of cotton fabric of 8 1/2 x 6″
- Piece of cotton fabric of 1 1/2 x 3″
- 1 Split ring
- Sewing Machine
- Scissors
The sewing machine I’m using on this tutorial is a Brother computerized sewing machine, it’s an affordable model and it comes with many features that helps me to work on many different projects, the more I use it the more I like it! You can check this model on Amazon!
How To Sew A Simple Face Mask Pouch Tutorial

Step #1 – Cut Out Fabric Pieces
With the patchwork ruler and rotatory cutter it will be easier for you to cut out the two pieces (rectangles) you need to make the face mask bag. In case, you don’t have the patchwork ruler and rotatory cutter, you can draw the two rectangles on a piece of paper and cut them out and use them as a pattern.

Step #2 – Sew On Top And Bottom
Lay the big piece of fabric right side down and fold up top and bottom sides 3/8 inch, run you’re sewing machine to make a hem of 1/4″ with straight stitching.

After you make the hem on top and bottom, this piece should look like this. (photo below)

Step #3 – Sew The Tab
Take the fabric rectangle to make the tab with right side facing down, take one side raw edge up to the center and finger press, do the same step with opposite side. Take both folded edges to the center and press, sew on with you’re sewing machine all along the tab with straight stitching on both edges.
Put the tab in the keys ring and fold tab in half, sew on like it’s shown on picture below.

Step #4 – Prepare Pouch
Lay big piece of fabric right side up on your table, and take bottom side up 2 3/4″, place tab in one side like it’s shown on picture below. Pinch two pins.

Step # 5 – Fold Down Top Side.
Fold down top side 1 1/2″, pinch a couple of pins.

Step # 6 – Sew On
Sew on both sides 1/4″ seam with straight stitching and multipurpose presser feet, stitch length can be 2.5 or 3 mm

Step #6 – Set Up Sewing Machine For Overcasting Stitching
As you can see on my sewing machine, overcasting stitching is number 06, I set up this stitching pattern to 2.5 mm length and 3.5 mm width. You need to check up on you’re sewing machine if it comes with overcasting stitching pattern or not, each brand has their own numbers for different stitching patterns.
In case you’re sewing machine doesn’t have overcasting stitching pattern, you can use zigzag stitching.

Step #7 – Overcasting Stitching
Sew on both sides with overcasting stitching. (or zigzag stitching)

Step #8 – Turn Pouch Right Side Out
Now you can turn pouch right side out, punch corners out with your fingers or with a pair of scissors with round point.

Step #9 – Put Face Mask In
All you need to do now is to put face mask in the pouch and you’re ready to go!
How to Sew a Face Mask Bag Final Thoughts
 This is a sewing project easy to sew for anyone who is interested on learning to sew, easy steps to follow to make a key ring pouch, whether you use it to bring a face mask with you anywhere you go, or to keep in it something you know you might need later.
By making this sewing project will help any beginner to work on an easy project with low cost fabric and will give you the skills to work on more difficult degree projects later.
I hope you have fun making it and let me know how it went on a comment, I would love to read from you!
Happy sewing!
You can read more sewing tutorials here!
- Sewing And Quilting – The place to find more easy sewing tutorials for beginners and the experienced sewers love to make!


Haha thanks for the article my guy! Honestly, this looks very cool! Matter of fact, my mom is totally in to knitting and sewing! She also makes her own face masks, so I’ sure that this is a project she’d be very happy to work on. Seems very practical and versatile in its use. Thanks again!