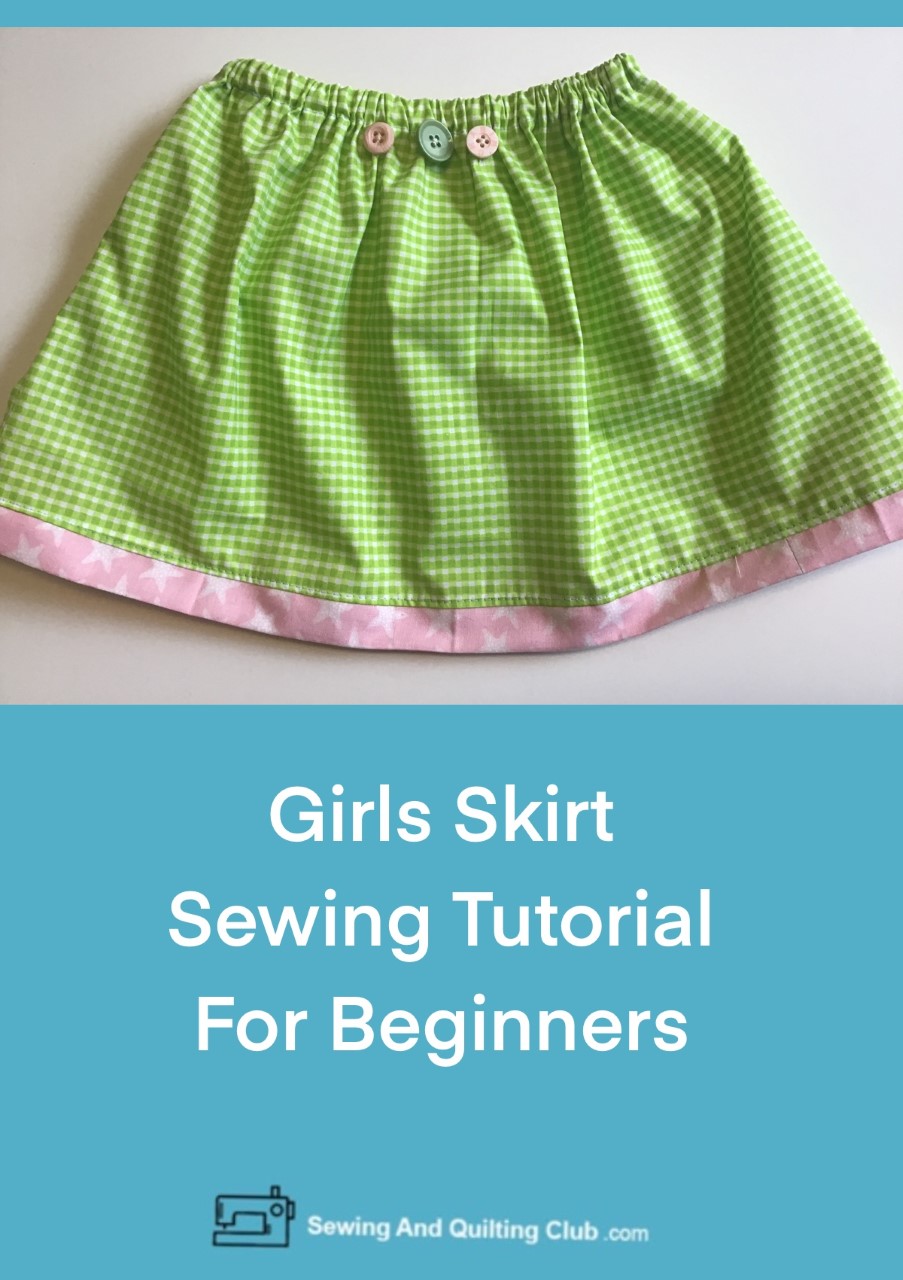
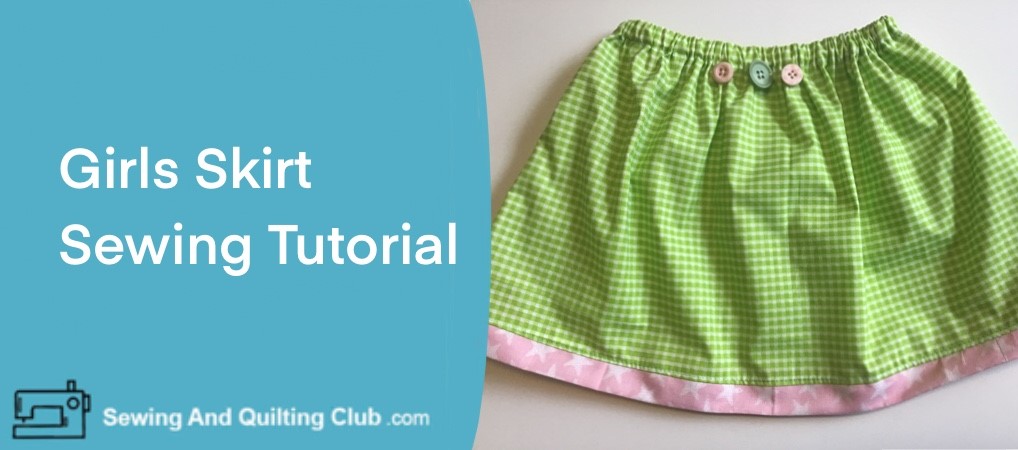
Girls Skirt Sewing Tutorial is an easy sewing project any beginner or any sewer will love to make for the young girl at home or to give it as a gift to a young friend.
This simple skirt pattern is for a girl size 6, but you can follow the same steps to make a skirt for any girl, all you need to do is to measure the girls’ waist and the length of the skirt.
This is an easy sewing project any beginner can make and it will help you to learn a few more easy sewing tasks you can use later for more sewing projects.
You can use a simple cotton fabric with a pretty design or you can choose a design you know the young girl will love!
Girls Skirt Sewing Tutorial
Skirt Size 6
- Waist – 18 1/2 inches
- Length – 10 1/2 inches
Materials and Supplies
- 2 pieces of cotton fabric of 18 1/2 x 13 inches
- 1 piece of 1/2″ elastic of 17 1/2 inches
- Measure tape
- Scissors (affiliate)
- Pins
- Sewing machine (affiliate)
- Iron (affiliate)
*This post shares affiliate links, thanks for your support to our blog
For the Skirt with a strip of fabric on the bottom and 3 buttons for decoration:
- 3 buttons
- 2 strips of fabric of 18 1/2 x 2 inches
Girls Skirt Sewing Tutorial – Step by Step
Step 1 – Measure and Cut Out Fabric
Be sure you have the right measures for making the skirt for your girl, you can customize any size to your girl, check the waist and the skirt length measurements.
If you have a wide fabric, you can cut one piece of fabric to make the skirt, but some fabrics are not as wide as you might need for making the skirt, then you can cut our two pieces of fabric, just add 1/2″ on both pieces for the extra seam.
Prewash and press the fabric before cutting it our.

Step 2 – Sew On
If you cut our two pieces of fabric to make the skirt, lay over the work table both pieces of fabric, right side to right side and pin both sides. Stitch on both seams 1/4″ (3.5 mm) Stitch on both seams with an over lock stitching pattern or with zigzag stitching, press.
If you cut our just one piece of fabric, fold it in the middle, right side to right side and pin both ends of the fabric. Stitch on the seam 1/4″ with straight stitching (3.5 mm) Stitch on the seam with an over lock or zigzag stitching pattern, press.

This is how both seams looks like after the straight stitching and over lock stitching on a computerized sewing machine.

Step 3 – Sew On The Bottom Hem
On the wrong side, fold the edge up 1/4″ all around and press.

Measure 1″ and pin the hem all around.

Straight stitching the hem all around, press.

Step 4 – Stitch On The Skirt Waist
Fold up 1/4″ on the wrong side all around, and then fold up 3/4″ and pin it all around.
Stitch on all around and leave 2 ” gap for the elastic.

Pin a safety pin on one end of the elastic and tuck in the elastic.

Keep both ends of the elastic our. Remove the safety pin.

Overlap 1 1/2″ the two ends of the elastic and stitch on with zigzag stitching.

Tuck in the elastic and straight stitching the gap, arrange the elastic all around the skirt waist and the skirt is finished!
You did a great job!

How To Add A Strip Of Fabric On The Bottom Of A Skirt
Girls grow so fast and when they love the skirt you make for her, she might want to keep wearing it.
One way to make a skirt for a taller girl, is to add a strip of fabric on the bottom, for this tutorial, you will need to remove all the hem stitching and press the skirt.
Cut our one strip of fabric:
- Same length as the skirt width
- Fabric strip width – double the length you want to add to the skirt, for this tutorial I cut our one strip of fabric 2 inches width.
Fold the strip of fabric in the middle and sew on both ends 1/4″. fold the strip in the midle lengthwise and press.

Add the folded strip of fabric to the bottom of the skirt on the right side and pin it all around. Stitch on 1/4 ” seam the folded strip of fabric to the bottom edge of the skirt, remove all pins and stitch on with an over lock or zigzag stitching pattern.
Open the strip of fabric and press.

Top stitching the strip of fabric on the right side of the skirt where the seam is, press.

Add some final decoration to the skirt.
This time I sew on three buttons to decorate the skirt, but you can add a ribbon bow on it too.

The sewing machine we used for this sewing tutorial was a Brother Computerized Sewing machine with multipurpose presser foot and we used straight stitching 3.5 mm and over lock stitching pattern.
We hope you like the girls’ skirt sewing tutorial, we are sure that after making one, you will be making more for the young girl at home or to give as a gift to a young friend or maybe your niece or your grand-daughter.
Happy Sewing!
You can read more tutorials here!
- Easy baby Bib Sewing Tutorial – An easy sewing project to make for the new arrival in your family or to give it as a gift.


i really love your website niche on sewing and your tutorial post on how to sew a mini skirt is very clear and simple with nice pictures of the outcome for following the steps.i will tell my wife to sew some for our little girl by following your steps provided on your website. Thanks.
My father as a shop and 80% of his clients are women. I really think that he will love your article. I will simply have to translate it in French for him! But as I was reading your post, I started to say to myself: hum… I think that this is something that I can try. My ex-girlfriend (how still is a very good friend of mine) is an excellent seamstress. I think I will surprise her with this project. :0)
Hey Alex! This is such a great and in-depth tutorial on Girls Skirt Sewing! This is also the first time where I can confidently say that I understand all the steps shown in this tutorial without a single tutorial video! I am normally a visual learner, meaning i learn from watching videos and follow through, but you have done such a great job in structuring your paragraphs which makes it easy to follow through. The images that you have attached along with your clear instructions leaves me with no question in how to carry out this project! I am actually thinking to sew one dress for my little cousin’s teddy bear as she really loves her bear and always wanted a dress with it, but there is not much place who caters to this.
So I’m planning to lessen the measurement accordingly and give this to her as a surprise! Thank you for the awesome, short and clear instructions. I am a beginner and I am looking forward to start this as I love to learn new skills in life. Keep this up, and stay safe!