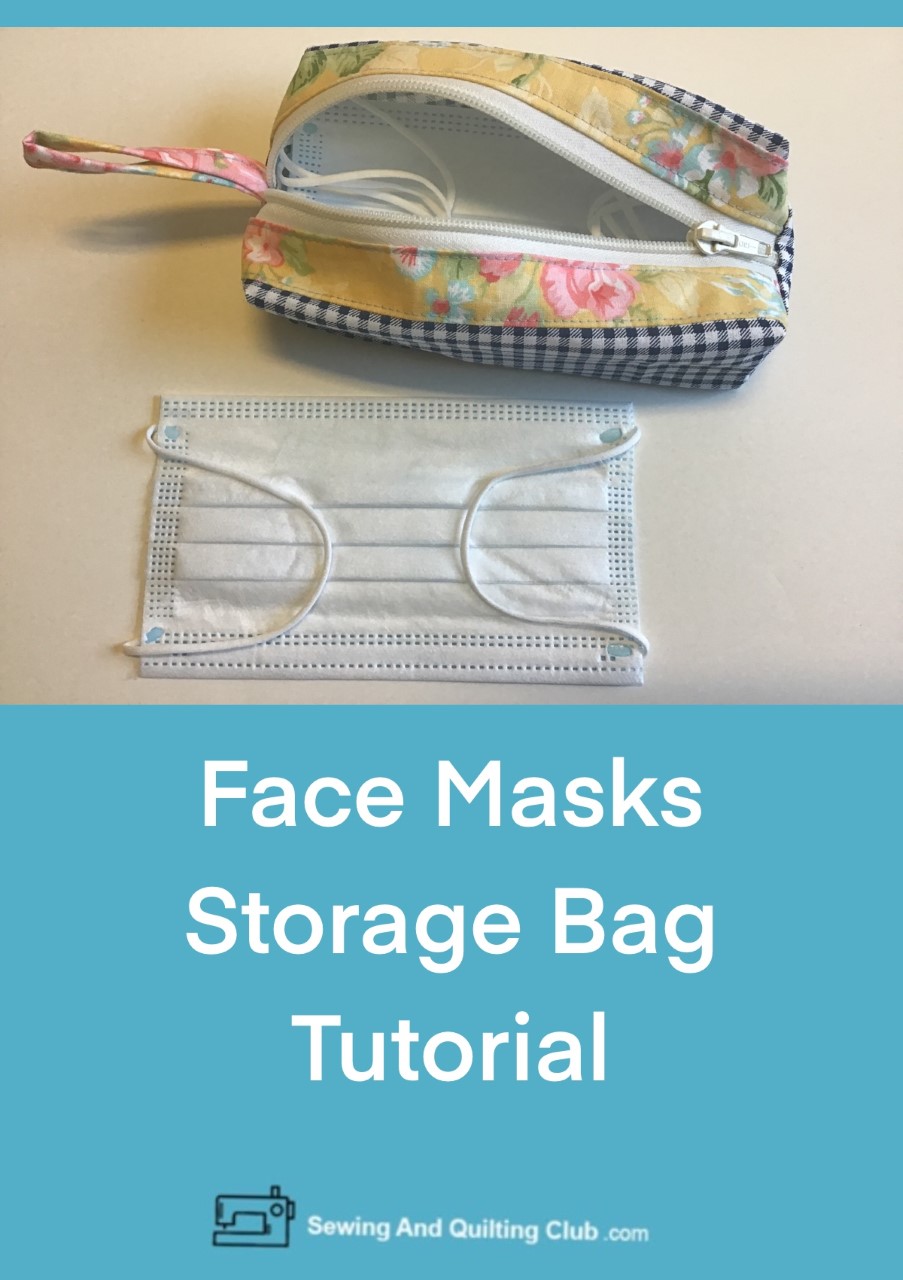
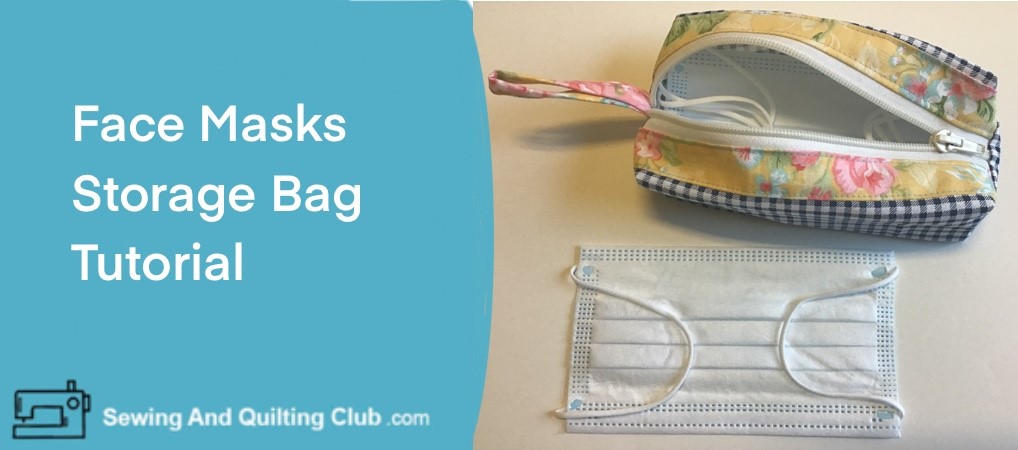
Face Mask Storage Bag tutorial is a sewing project any sewer can make to keep in one place a few face mask ready to be used.
Carrying one or more extra face mask is a necessity today no matter where you live, keeping the face mask safe in one place at home, in your car, or at the office so you or someone else can take one safely anytime.
One thing about being a sewer is that you can make something to solve any problem and today you can follow the step by step to make a zippered boxed pouch to keep a few face masks made by you or bought at the pharmacy in it.
Face Mask Storage Bag
Material and Supplies
- 1 piece of cotton 100% fabric of 9.1/2 x 8 3/4 inches
- 2 pieces of cotton 100% fabric of 9 1/2 x 1 1/2 inches
- 1 piece of cotton 100% fabric of 8 x 2 inches
- 1 zipper 12 inches
- Measuring tape or patchwork rule (affiliate)
- Rotary cutter, cutting mat (affiliate)
- Scissors (affiliate)
- Pins (affiliate)
- Polyester 100 % thread
- Sewing Machine (affiliate)
You can also read: 10 Must Have Sewing Tools
Face Mask Storage Bag – Step by Step Tutorial
On this tutorial I will share the steps to follow to make a Zippered Box Pouch.
Step 1 – Prewash And Press All The Fabric
Before you start working on the sewing project, you need to prewash and press all the fabric for this tutorial.
Cut out all the pieces, you can use the tape measure or you can use the patchwork ruler, rotary cutter and cutting mat.
Step 2 – Sew On The Two Strips Of Fabric
Lay the piece of fabric on your table, right side up, and lay over this piece the two strips of fabric on both sides of the main piece of fabric, right side to right side, pin both pieces and sew on with straight stitching, 1/4″ seam. Remove all pins.
Sew on both sides again, but this time with an overlock stitching pattern, if you’re sewing machine doesn’t have any overlock stitching pattern, you can do this step with zigzag stitching.
Open both strips of fabric and press.

Step 3 – Top Stitching
Top stitching both sides.

Step 4 – Sew On The Zipper
The zipper is longer than the piece of fabric for this tutorial, but it will be cut off to the same size of the piece of fabric later.
Lay the zipper right side down on one side of the piece, pin and sew on with straight stitching.
Now, you can stitch on the other side of the zipper to the other side of the piece, pin it and sew on with straight stitching. remove all pins.
You can do the overlock stitching or the zigzag stitching on both seams.

Step 5 – Top Stitching The Zipper
Turn the piece right side out, and unzip the zipper, top stitching both sides.
Top stitching both sides of the zipper, will prevent the fabric from getting caught in the zipper when you use the storage bag.

Step 6 – Sew On The Strip Of Fabric
Lay over your work table the strip of fabric and fold both sides 1/4 inch back. press.

Fold the piece in the middle lengthwise, pin the piece and sew on.

Step 7 – Sew On the Strip On The Bag.
Fold the strip in the middle and place it on the top side of the storage bag in the middle on the right side of the fabric, pin it and sew on. Remove the pin.

Step 8 – Sew On The Storage Bag
Lay flat the storage bag on your work table and pinch a couple of pins on the top and on the bottom.
Don’t forget to leave open 1 or 2 inches for the zipper.
Sew on with straight stitching, 1/4″ seam on the bottom and on the top.
Sew on with overlock or zigzag stitching on top and bottom.

Step 9 – Mark All Four Corners
With the help of a patchwork ruler or with the measuring tape, mark 3/4″ on each corner, take a look each square is marked from the stitching and not from the edge.

Step 10 – Cut Off All Four Corners
With the help of a pair of scissor for fabric, cut off each corner, on the marked line.

Step 11 – Sew On The Boxed Corners
Open each corner to make both sides of the fabric to meet, pinch a couple of pins and sew on each corner first with straight stitching and then with overlock or zigzag stitching.

Open the zipper and turn out the storage bag.

The Face Mask Storage Bag is ready to place all the face masks you need to carry inside, close the zipper and you will keep all the masks safe until you need to take a new one!

Keeping in one place all the face masks you will need for a new day or for a new week in one place, will be easy for you with the storage bag.
Make the storage bag with a pretty fabric and keep it at a place where you can easily find it!
I hope you find this tutorial helpful and easy to make!
How To Wash The Storage Bag?
If you make this bag with an easy to wash fabric, you won’t have any problem to add the bag to a regular laundry cycle. If you make the bag with a different type of fabric, follow the instructions to wash that particular fabric.
Is This Storage Bag Only For Face Masks?
No, the storage bag can be made to keep inside anything you want to, from pencils, make up, lingery and anything you need to carry with you.
Is The Storage Bag Tutorial Good For Beginners?
This is an easy sewing project to make, and any beginner would love to make, it has different steps to follow and one of them is to sew a zipper on a piece of fabric, if you have been doing a few other sewing projects for a beginner, you might want to take the challenge and make the storage bag.
You always can baste the zipper by hand before you use the sewing machine, this step will help you to get better results.
What Type Of Sewing Machine Is Needed To Make A Storage Bag?
You don’t need any special sewing machine, any model will be good to make the storage bag, at home I used the Brother Computerized Sewing Machine, with straight (3.5 mm) and overlock stitching, multipurpose presser foot.
Face Mask Storage Bag – Closing Thoughts
We know the importance of a sewing tutorial to help you find a solution to a problem.
Getting all those clean or new face masks in a safe place, until the moment you need to take one to use it.
We hope you find this new sewing tutorial useful and we are sure after you make one, you will be making more, to keep all those face mask in one place or to give one to a friend or to someone in your family.
If you have any question, write it on a comment and we will reply shortly!
Happy Sewing!


Wow Wow Wow! Such a good and timely post! This really was very very industrious. Thank you very much for thinking about this and showing us how to make customizable face masks storage bag, I am really lucky to have come by it, quickly saved to my feedly! Would share too
Thanks alot for sharing this short tip on these easy ways of making this face mask bags. It will come in handy ro many and I will definitely try this one because I have been having this sudden interested on sewing and i hve started learning. I am happy I came across this.