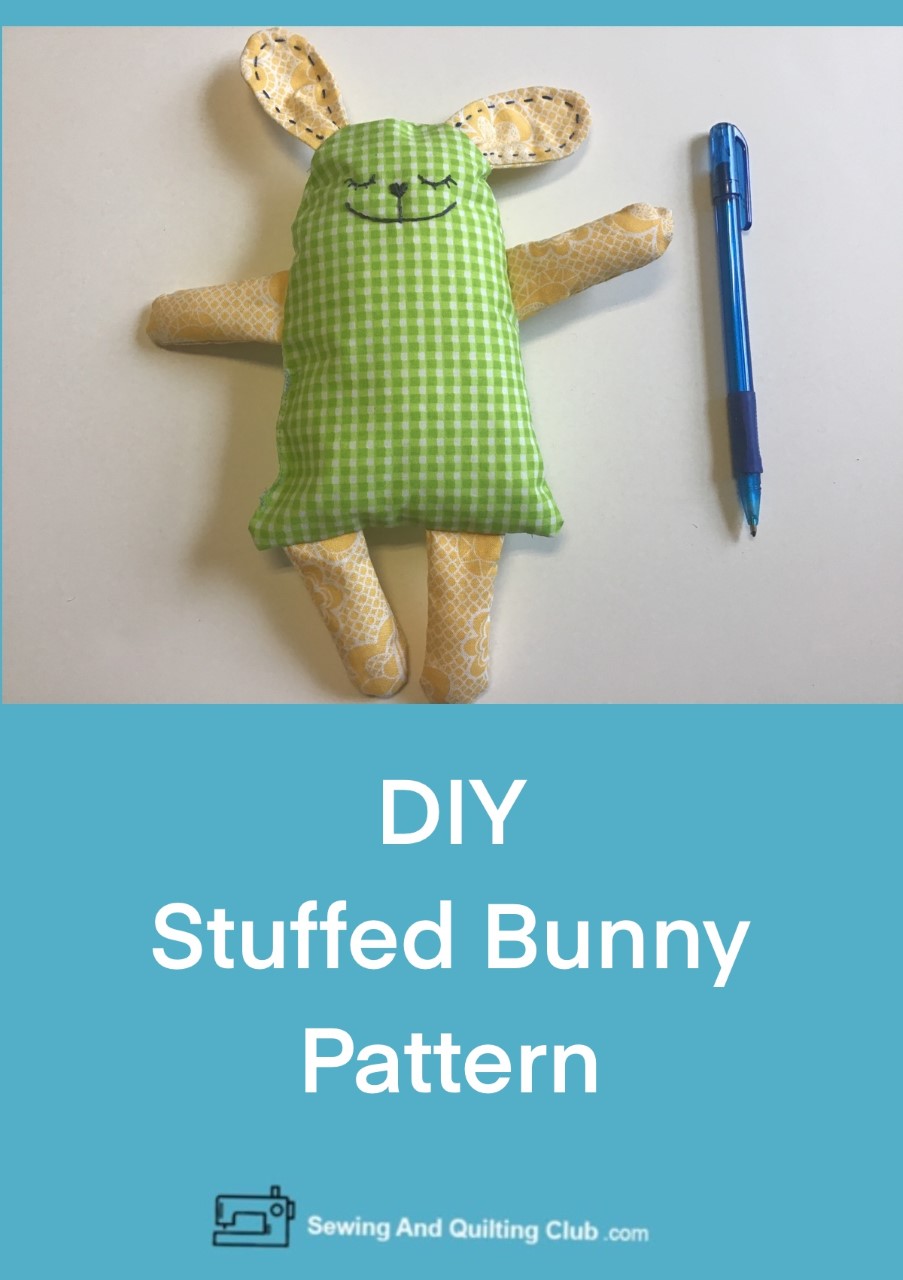
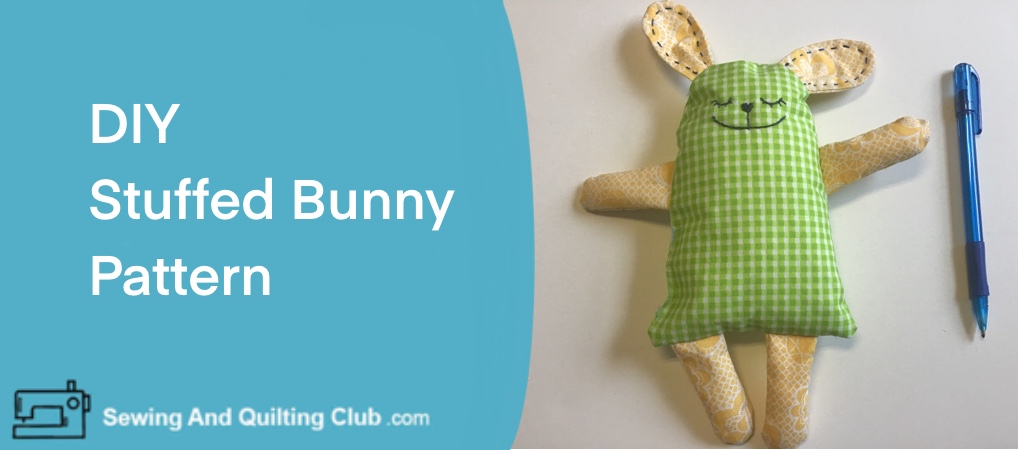
DIY Stuffed Bunny Pattern will give you the easy steps to follow to make one for the young one in the family or to give it as a gift at a Baby Shower
Making a stuffed toy is easy and lots of fun, this is an easy sewing tutorial, beginners and more advanced sewers will love to make, once you see how easy it is to make, we are sure you’ll be making more than one!
When you are invited to a Baby Shower, you might want to give a gift made by yourself, we are sure you will do great with this cute stuffed Bunny!
DIY Stuffed Bunny Pattern
Materials and Supplies
- 2 pieces for the body in cotton 100% fabric on any color and design of
- 2 pieces of cotton 100 % fabric for the ears, arms and legs of
- Soft stuffing for pillows
- Scissors (affiliate)
- Pencil or marker for fabrics
- Pins
- Sewing machine (affiliate)
- Download the Stuffed Bunny FREE pattern here
*This post shares affiliate links, thank you for your support to our blog.
DIY Stuffed Bunny Pattern – Step by Step
Step 1 – Trace The Stuffed Bunny Pattern Onto The Fabric
out the pattern and cut out all the pieces, lay over the fabric all the paper templates and with a pencil or a marker for fabric, trace all the pieces, you will need to trace 2 ears, 2 arms, 2 legs and one body on the back of the fabric.
Lay each piece of fabric over a piece of fabric, right side to right side and pin it.
Stitch on the ears, arms and legs, the pencil mark will be the stitching guide. Remove all pins and cut out each stitched piece, when cutting out each piece add the 1/4″ for the seam.
Clip all curved seams, and turn out each piece.

Step 2 – Stuff Up Arms and Legs
With soft stuff for pillows, stuff up arms and legs gently.

Step 3 – Pin Up Arms, Legs and Ears
Take the piece you marked for the body and cut out the piece with 1/4″ for the seam, clip the seam on each mark for the arms, legs and ears.

Pin arms, legs and folded ears on each mark.
Stitch on all around the piece on the edge so you can remove all pins from the piece.

Step 4 – Stitch On The Bunny
Lay the piece with the arms, legs and ears, on the piece for the back, right side to right side, pinch a few pins to keep both pieces in place as you stitch on the piece on the sewing machine, don’t forget to leave a gap open to turn the piece out on one side.

Step 5 – Trim All Around
With the help of a pair of scissors for fabric, trim the piece all around, leave 1/4 inch for the seam.

Clip the seam all around, cut the two bottom corners diagonally. Turn out the piece, push gently the seams out from the inside with your finger tips or with the help of a rounded point pair of scissors.

Step 6 – Stuff Up The Bunny
With the help of a pencil or a marker for fabrics, trace the face on the bunny, I traced a happy face on one side and a sleepy face on the back.
Stuff up the bunny gently. Stitch on to close the gap, it can be done on the sewing machine, reinforce the stitching at the begining and at the end.

Step 7 – Embroider The Bunny Face
It’s time to do the hand embroidery for the face, with embroidery floss any color you want to use.
Satin stitching for the nose and eyes and back stitching for the mouth.

Don’t forget to add some cuteness with big basting stitching on both ears.

The Stuffed Bunny is done and it looks so cute!
Is The DIY Stuffed Bunny Pattern Good For A Beginner?
This tutorial will be a good sewing project to make for any beginner, it has simple steps to follow and it will help any beginner sewer to learn more about how to make an easy project.
How To Wash The Stuffed Bunny?
It can be washed in a regular cycle in the laundry machine with the rest of the baby clothing, don’t put it in the dryer.
What Is The Best Fabrics To Make The Stuffed Bunny?
I made this tutorial with cotton 100% fabric, prewashed and pressed, but you can also use knit fabric to make it.
What Type Of Sewing Machine Is Best To make The Stuffed Bunny?
Any sewing machine will be good to make the stuffed bunny, you will need straight stitching only and a multipurpose presser foot.
At home, I used a Brother computerized sewing machine, with straight stitching (3 mm)
Can The Stuffed Bunny Be Bigger?
Yes, you can make a bigger stuffed bunny, but you will need to draw your own patterns. This tutorial is designed with simple shape patterns and it will be easier to draw by yourself a bigger design.
DIY Stuffed Bunny Pattern – Closing Thoughts
We hope you have fun making the Stuffed Bunny for the baby in the family or to give it as a gift at a Baby Shower.
We know when you love to sew, there’re no limits for your creativity and you can make a cute stuffed animal for a young one in the family or to give it as a gift. When you see how easy it is to make one, we are sure you’ll be making more of them.
If you make one (or more) let us know on a comment, we will love to see it!
Don’t forget to follow Sewing and Quilting Club on Pinterest!
Note:Don’t leave the baby unsupervised, when the baby or yound kid is playing with the stuffed bunny. Don’t add any buttons on the stuffed toy or any bead that can be a risk for the baby
Related:
- Baby Tag Blanket Tutorial – Learn how to make a tag blanket with the Dressden Plate Pattern
You can Pin it so you can find it later!


Well, I did not think that it would come out so well, but thanks to your instructions, it has come out amazing. If I could post a picture here of what my little stuffed bunny looks like I would post it! Thank you so much for the thorough and concise instruction article on how to make your own stuffed bunny. It’s literally so simple the way you have dumbed it down for us
This gave me a great idea of a gift I could give a friend who’s just had a baby! I was wondering what else could be given when this just filled in that space. It is going to take a little time and work but I know the end product would definitely be appreciated due to all the sweat that has gone into it. I haven’t created something like this before but I know this detailed guide will be helpful!
Thanks for giving me this great idea!
Thanks for the great post. I did not know how easy it was. Next step for me will be to get my girlfriend, who loves sewing, to make one of those stuffed bunnies. What I like about this post is that it shows you the way and with the help of some imagination to make patterns not only for bunnies but also for tedy bears, dogs, and many more.