DIY Purse Organizer is an easy sewing project to make that will help you to keep all your belongings well organized in your purse.
Whether you use the purse organizer to keep your money bills, or if you use it to carry your make up or other belongings, we are sure you will love to make it as this is an easy sewing project to make with just four easy seams.
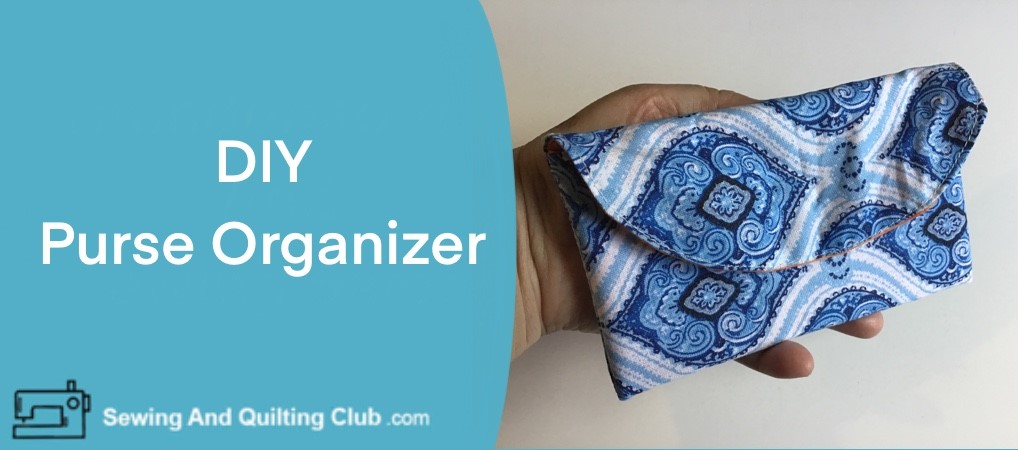
DIY Purse Organizer
When you’re just learning to sew, working on easy small projects will help you to understand how to work with your sewing machine, and the purse organizer is an easy project to make for beginners and more advanced sewers.
Materials
- 1 piece of fabric A of 6 1/2 x 17 inches
- 1 piece of fabric B of 6 1/2 x 17 inches
- 1 snap button
- Sewing machine and sewing tools
Purse Organizer Step by Step Tutorial
1 Cut All Your Fabrics
Cut the fabric A and B.
On the fabric A, with the help of a plate or a bowl, trace on one end of the piece the curved corners and cut the curved end with the help of your scissors.

2 Sew On The Straight End
Lay the fabric B on your work table with the pretty side up, and lay over it the piece of fabric A with its pretty side down, stitch on the straight end, 1/4 inch seam allowance.
Open the seam and press, take the piece of fabric B over the piece of fabric A.

3 Turn The Two Fabrics Pretty Side Out
Lay the project on your work table with both fabrics out.

4 How To Make The Folds On The Purse Organizer
Lay the project on your work table as it’s shown on the image below, the fabric A should be on top, and take the straight end up 3 1/4 inch up.

To make the second fold, take the top of the first fold up to match the 3 1/4 inch fold, this will make the two interior pockets.

6 Prepare The Purse Organizer
Take the square end of fabric B to open its pretty side up, it will be under the fabric organizer, then take the folds to meet this fabric.
Fold the fabric A to cover the fabric organizer, it should be like it’s shown on the image below.
With the help of a quilting ruler, trace the 1/4 inch seam allowance on the edge of fabric A, on the back, leave a gap open on the curved end.
Pinch some pins, and sew on your sewing machine, reinforce the beginning and at the end of the stitching.

7 Trim The Fabric Organizer
With the help of a pair of scissors, trim fabric B following the curved end of fabric A
Make some small cuts all along the curved end, and cut diagonally both bottom corners.

8 How To Turn Out The Purse Organizer
Turn the piece out by the gap left on the curved top.
With the help of your finger tips push all the seams from the inside.

9 How To Finish The Purse Organizer
Tuck in the seam in the gap and top stitching all along the curved end.
Sew on the snap button.

The Purse Organizer is finished and it looks amazing!

Four easy seams to stitch and you can make a fabric organizer that will help to keep everything well organized in your purse, whether you keep your money bills inside or if you use it to keep all your pens and pencils or some make up you always carry with you.
What Fabric Type Is Best To Make The Purse Organizer?
The purse organizer can be made with cotton fabric, like I did on this tutorial, but if you have some other type of fabric to make it like linen, taffeta, or some blends like cotton plus polyester, all these type of fabric will work great to make it.
If you want to use thicker fabrics like denim or canva, all you need is to pay attention that you’ll be sewing with a multiple layers of fabric, so when sewing on your sewing machine, go on slow speed to prevent breaking the needle or the machine.
Is The DIY Purse Organizer A Sewing Project For A Beginner?
This is a great sewing project for a beginner, just make it with a lightweight fabric like cotton or linen to keep it simple.
DIY Purse Organizer, Closing Thoughts
We hope you like this tutorial as this is an easy sewing project any sewer can make, and it will be a perfect sewing project to make a purse organizer to keep everything you carry in your purse well organized.
We are sure, once you see how easy it is to make, you’ll be making more than one, as this is a perfect sewing project to make for yourself, or to give it as a present to your best friend.
If you want to start selling some of your sewing projects, this will be a best-seller!
Find more sewing Tutorials here:
Thanks so much for reading our blog and for helping us to share it on your Social Media!

Thank you. I am sure my daughter is going to be thrilled throughout the whole process. Will follow step by step. But I want mine to be a little bit heavier, so I am wondering what type of material I can use. Yours came out perfectly and the colours are beautiful as well.
I hope it will come out like yours.
Hello Memor12, if you want to make one reversible bag for yourself but heavier, you can use denim or a canva material to make it. Let us know how it went.