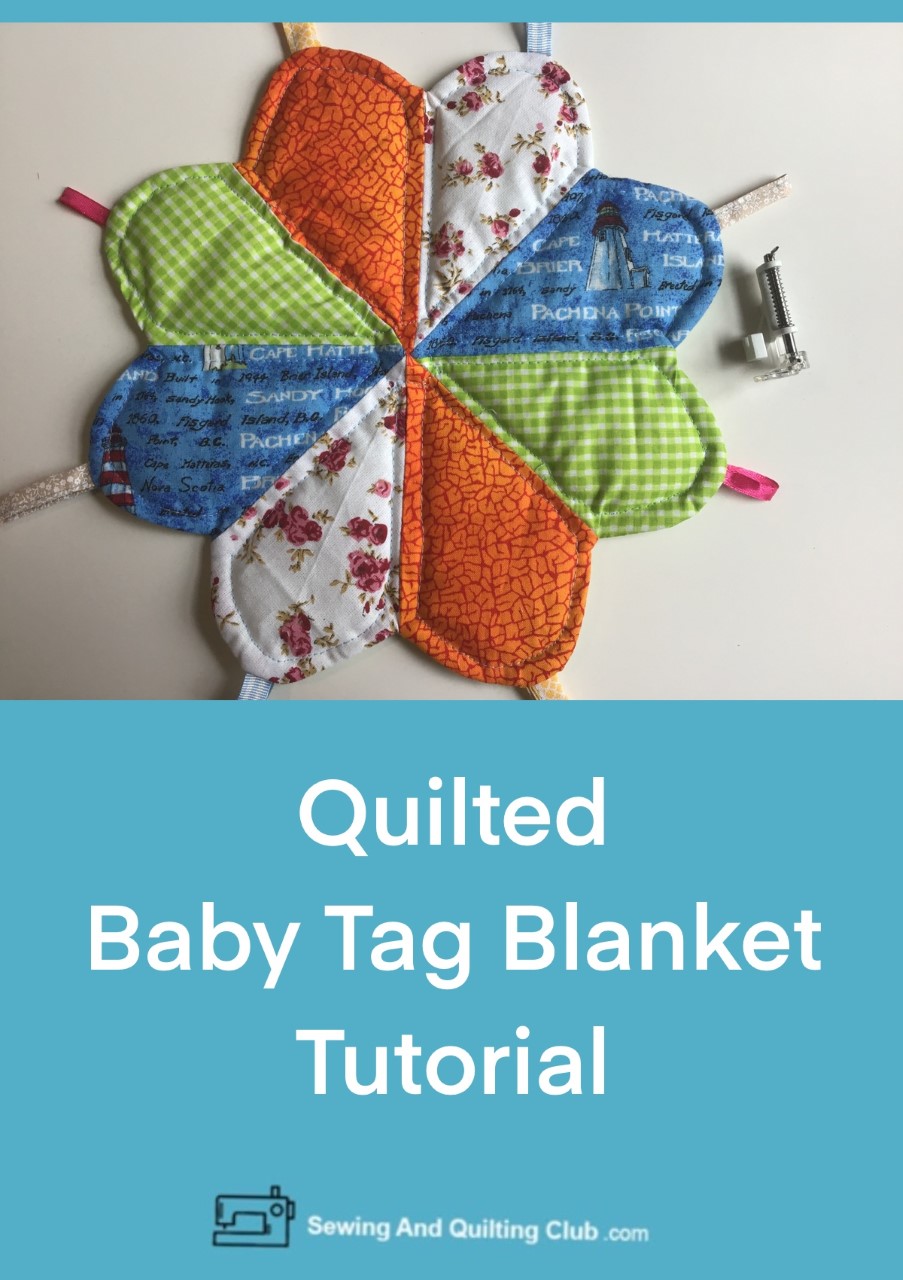
Baby Tag Blanket Tutorial will give you the easy steps to follow, whether you make it for the baby in the family or to give it as a Baby Shower gift.
When you love to sew, making a quilted baby tag blanket with the Dressen Plate pattern is a fun project you can sew for a baby.
With brilliant colors or with a soft colors fabrics, you can be sure the baby will have lots of fun with the tag blanket made by you.
Baby Tag Blanket Tutorial
Materials and Supplies
- 8 pieces of cotton 100 % fabric – 2 pieces of each color
- 8 pieces of assorted color and design of ribbon
- 1 piece of thin batten fabric of 12 12 inches (optional)
- 1 piece of cotton 100 % fabric for the back of 12 x 12 inches
- Pins (affiliate)
- Scissors (affiliate)
- Sewing machine (affiliate)
- Free Motion Quilting presser feet (affiliate)
- Download the free Baby Tag Blanket pattern here.
*This post shares affiliate links, thanks for your support to our blog.
*This post shares affiliate links, thanks for your support to our blog
Baby Tag Blanket Step by Step Tutorial
Note: Always use quality fabrics that use textile fibers safe for a baby, when you buy a quality fabric it will be safer for the baby, if you decide to use brilliant colors fabrics, always prewash the fabric to be sure all the dye bleeds before to give the tag blanket to a baby.
Don’t use any button or beads to make it safer for the baby and always supervise the baby while play with the tag blanket.
Step 1 – Prewash All Fabrics And Cut Out All The Pieces
When working with cotton fabric it is better to prewash all fabrics before you start working on the project.
The Baby Tag Blanket is designed with the Dressden Plate used to make quilts.
Download the free pattern and lay each fabric on your work table and trace the pattern on the back of the fabric and with the help of a good pair of scissors for fabric, cut our two pieces from each fabric.
Step 2 – Lay Out All The Pieces On Your Work Table
Lay our all the pieces on your work table to arrange the order of the pieces, you can take a look on the image below, the sewing project is laid our in two halves, each half has the same number of pieces and once the project is finished each pair of pieces with the aligned. You can decide the order of the pieces on you’re sewing project.
Step 3 – Pin The Two Halves
Turn the pieces from one half right side down and pin all the four pieces, this step will help you to stitch on each half with ease without losing the order of the pieces, do the same on the second half.
Step 4 – Stitch On The Two Halves
Stitch on each half at the time with straight stitching (3 mm), and with the multipurpose presser feet. Press.
Step 5 – Stitch On
Lay one half over the other, right side to right side and match the center of the two halves, pinch a few pins and stitch on all the way, but you need to leave a gap open to turn the project our later. You can take a look where I left the gap.
Step 6 – Pin All the Ribbon Pieces On The Dressden Plate
Lay the Dressden Plate on your work table and take one piece of ribbon at a time and fold it in the middle and pin each ribbon on the rounded end of each piece of the Dressden Plate.
Once you have all the ribbons folded and pinned on the Dressden Plate, stitch on you’re sewing machine all the ribbons and remove all the pins.
Step 7 – Prepare The Baby Tag Blanket
Lay on your work table the batting fabric and lay over it the fabric for the back, lay over it the Dressden Plate, right side down, and pinch a few pins. Stitch on you’re sewing machine all around, follow the Dressden Plate shape and leave a 3/8 inch for the seam, reinforce the stitching at the end.
Step 8 – Trim All Around The Baby Tag Blanket
With the help of a pair of scissors trim all around the baby tag blanket, follow the Dressden Plate shape.
Clip all around the curved edges, this step will help you to give the baby tag blanket its shape later.
Step 9 – Turn Out The Baby Tag Blanket
Turn our the baby tag blanket from the gap you left open in the center and with your fingers push our all the edge, if you need more help, you can use a round point scissors and push the edge from the inside gently.
Arrange the seams to one side where the gap is and pin it.
Step 10 – Quilt On The Baby Tag Blanket
For this step you will need to change the presser feet on you’re sewing machine, I’m using the Free Motion Quilting presser foot, but you can use the same presser feet, or the walking foot.
If you’re sewing machine comes with the feature to lower the feed dogs, then you need to do this to be able to work on the free motion quilting, but if not, you’re sewing machine might come with the darning plate so you can cover up the feed dogs when working on the free motion quilting.
When working on the free motion quilting on this step, you will be working on each piece of the Dressden Plate, and at the same time you will be stitching on to close the gap.
The Baby Tag Blanket, is a prefect small quilting project to work on to get used to work on the free motion quilting,
If you’re sewing machine can’t do the free motion quilting, you can do this step by hand, and it will look great too. All you need to do is to use a needle with a thread and do some small or big quilting stitches all around each piece on the Dressden Plate.
The Baby Tag Blanket is finished and it looks amazing!
Whether you make one for the baby in the family or to give it as a gift at a Baby Shower, I’m sure it will help the baby to be busy and entertained for a while!
What Type Of Fabric Is Best To Make A Baby Tag Blanket?
I worked on this sewing project with cotton 100% fabric, but you can decide whether to make it the same or to use different types of fabric and make it to help the baby to learn about different textures.
You can use different types of fabrics like: towel, soft blanket, corduroy.
How To Wash A Baby Tag Blanket?
The baby tag blanket is made with washable cotton fabrics, all you need to do is to add it to a regular cycle on your laundry machine with the rest of the baby clothing, and use the same soap you use to wash the baby clothing, let it dry over the laundry machine or on the laundry line in a shady spot. No need to put it in the dryer.
Can A Beginner Make A Baby Tag Blanket?
Yes, this is an easy sewing project any beginner will love to make, as it’s made using a Dresden Plate pattern, will help the beginner to start working on a quilting pattern, and it will help the beginner to start working on the free motion quilting.
Note, when you’re a beginner and it might be your first time working on the free motion quilting, it doesn’t need to be perfect, and I’m sure you will do a great job.
You can practice the free motion quilting first on a scrap of fabric first.
Do I Need To Make The Baby Tag Blanket Quilted?
You can decide whether or not to use the batting fabric, you can use a felted fabric for the back and skip the batting fabric, it will make it softer and it will look great when finished.
What Is The Best Sewing Machine To Make A Quilted Baby Tag Blanket?
Any sewing machine that has straight stitching and also can do free motion quilting will be good for this easy sewing project, at home I used a Brother computerized sewing machine as it comes with the walking foot and also with the free motion quilting foot.
Baby Tag Blanket Tutorial – Closing Thoughts
When looking for small sewing projects to make to help beginners to get more skilled, the baby tag blanket should be on your list, as it’s an easy project to make and it will help any beginner to get more skilled on sewing and quilting projects to make.
When you’re a sewer, you will be amazed on how many projects you can make, and when you have a new baby in the family or when you need to think about a baby gift to make on a baby shower, you are so lucky!
You can make the baby tag blanket in less than 30 minutes and always be sure everyone will love a baby gift made by you!
We hope you like this tutorial, if you make it, let us know in a comment, we always look to know how did it go!
Happy Sewing!
More Sewing Projects To Make For Baby
- DIY Soft Block Toy With Ribbons – The perfect complement for the Baby Tag Blanket!
You can follow Sewing And Quilting Club on Pinterest!
You can save the PIN so you can find this sewing tutorial later!


This seems like a perfect gift to make for a new baby and I’m sure the mother would appreciate anything that will keep them busy. I love the suggestion of using only cotton which makes it easy to wash with other baby items. The pattern seems simple enough and although perhaps fiddly for a new sewer it will build new skills, which is excellent.
A lovely toy for a baby. Thanks for the idea and instructions.