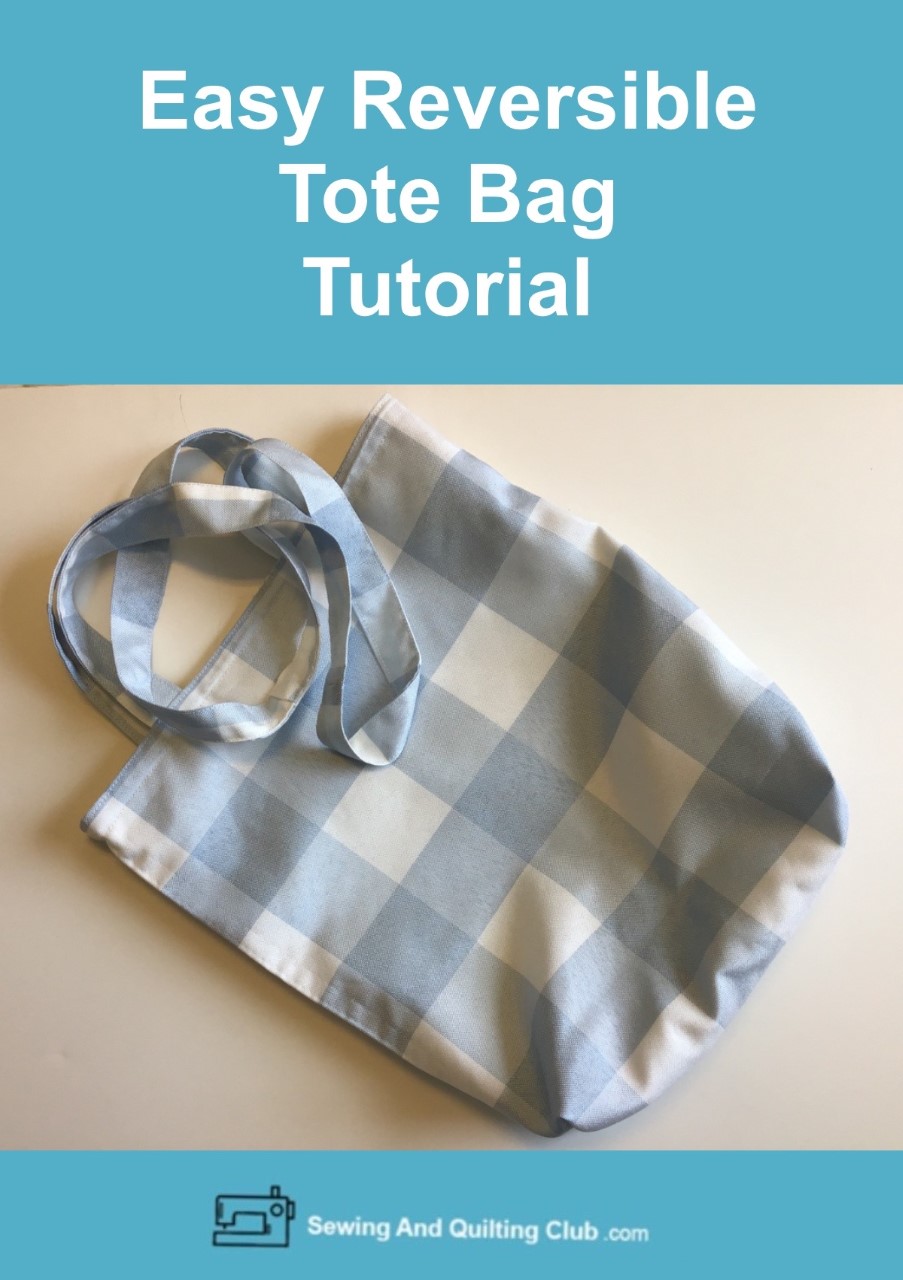
As a way to stop using any plastic bag anymore, and help the planet to be a better place, tote bags are back!
Reversible Tote Bag is an easy sewing tutorial for beginners and more advanced sewers, with easy steps to follow to make an Eco friendly bag.
As more people around the world are looking for a way to stop using any plastic bags, tote bags are back, and when you love to sew, you can make more than one for any purpose: to put all the groceries in the bag, or to keep your hobbies supplies in it.
Making a reversible tote bag is a way to have two tote bags in one, you will need to find two pretty fabrics to make it.
Reversible Tote Bag Tutorial
1. Cut your fabrics.

You will need two pieces of fabric of —– inches each one, you will also need two pieces of fabric of 24 x 3 inches, to make the straps, but you can also use two straps for a bag already made.
2. To make the two straps, take one piece of fabric at a time, and fold 1/4 inch on both edges lengthwise to the back, fold in the middle lengthwise the piece of fabric and pinch a few pins, top stitching on both sides (lengthwise). Follow the same steps to do both straps.
3. Sew on the straps to one piece of fabric

Sew on each strap on each end of one of the pieces of fabric for the tote bag, each end of the straps should be placed on the edge, 2 1/2 inches from the center, stitch on both ends of each strap to the fabric.
4. Sew On Both Sides

Fold each piece of fabric in the middle, and sew on 1/4 inch seam allowance on both sides of each piece of fabric. When sewing one of the pieces, leave a gap open on one side, to turn out the back later.
5. Cut Off Both Bottom Corners

Lay each piece on your work table, and with the help of a ruler, mark a square on each bottom corner of 1 1/2 x 1 1/2 inches, the square should be marked from the stitching seam, not from the edge.
With the help of a pair of scissors, cut off both corners on both pieces.
6. Sew On A Boxed Bottom On Each Piece

Open each corner, and match both sides, seam should be in the middle, sew on each corner with 1/4 inch seam. Open and press all seams.
7. Sew On Both Pieces

Turn out one of the pieces, and tuck in that piece inside the other piece, match the edges on top of both pieces, and sew on your sewing machine all around, 1/4 inch seam allowance.
8. Turn Your Tote Bag Out

Turn your tote bag out by the open gap you left on one side, on one of the two pieces of fabric.
9. Finish Your Tote Bag

Tuck in one of the parts into the other, and top stitching the top edge on your sewing machine twice, second stitching should be 1/2 inch from the top stitching on the edge.
Your Reversible Tote Bag is ready to be use!
I’m sure when you see how easy it is to make the reversible tote bag, you’ll be making more than one!
To make the reversible tote bag, I used a Brother CS6000i Sewing Machine.
Related Posts:
Thanks so much for reading my blog today!


