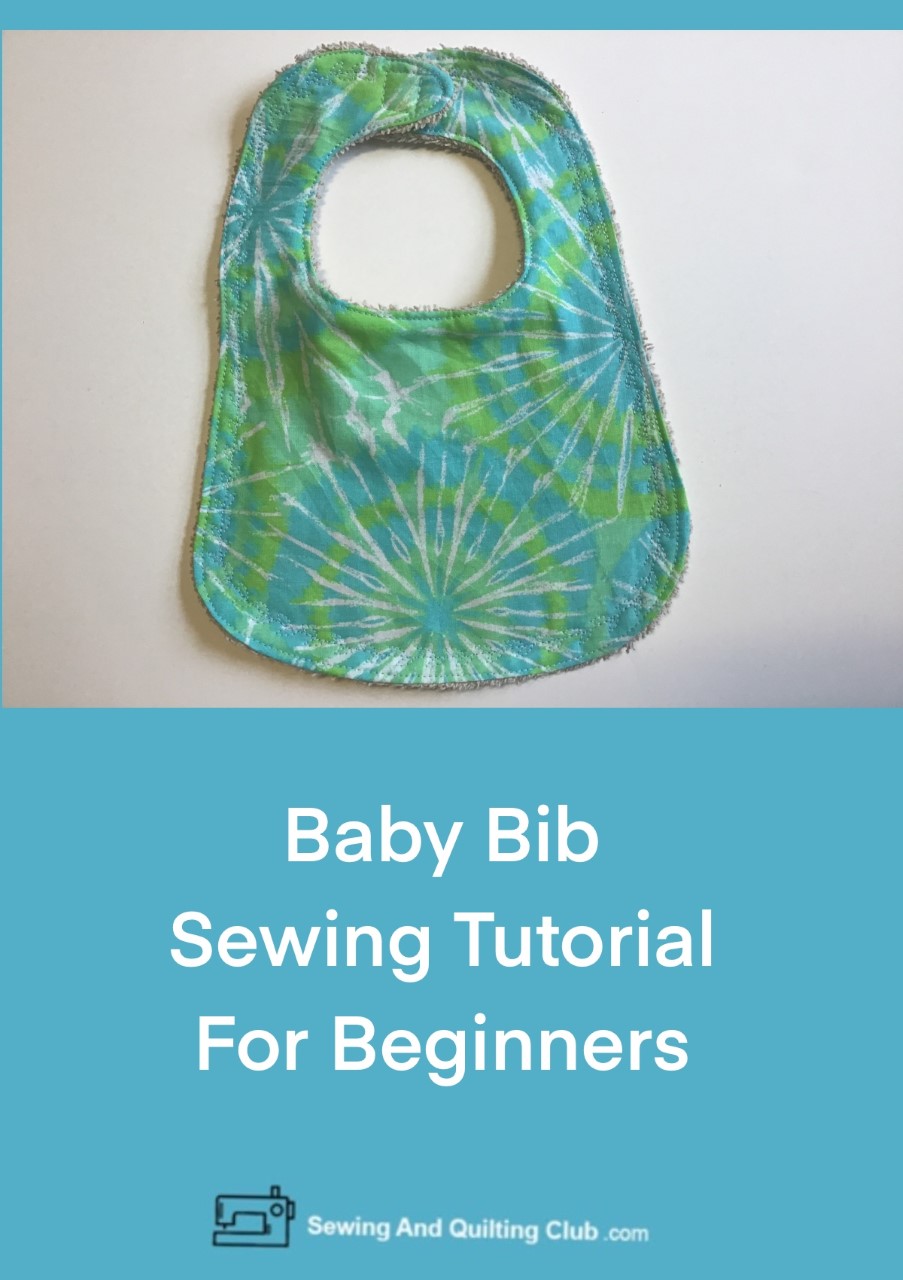
Baby Bib Sewing Tutorial is the perfect sewing project for any sewer who has a young baby in the family or if you want to sew a gift for a friend or a family member who will be welcoming a new baby soon!
When you look for an easy sewing project to make for a young baby, this step by step tutorial will take no more than 15 minutes to finish it, all you need to do is to find a pretty fabric to make it and it will look amazing!
Whether you have at home a young baby who is starting to learn to eat, or if you have a friend or a family member who soon will be welcoming a new baby, baby bibs are a must and one made by you, will be always a welcome gift!
Baby Bib Sewing Tutorial
Material and Supplies
- 1 piece of fabric of 12 x 10 inches.
- 1 piece of fabric for the back, it can be a soft knit fabric or a towel fabric of 12 x 10 inches
- Baby bib free pattern
- Scissors (affiliate)
- Pins (affiliate)
- Sewing Machine (affiliate)
- Velcro
* This post shares affiliate links, thanks for your support to our blog.
Baby Bib Sewing Tutorial Step by Step
Step 1 – Mark Down The Pattern
Download, print and cut out the pattern.
Lay the piece of fabric on your table work (right side down), and lay over it the patter, pin the pattern to the fabric and trace the pattern on the back of the fabric.
Remove the pins and the pattern. The pencil line will be the stitching guide.

Step 2 – Get The Bib Ready To Sew
Lay on your work table the fabric for the back (right side up) and lay over it the piece of fabric for the bib (right side down), pinch a few pins to hold the two fabrics while sewing.
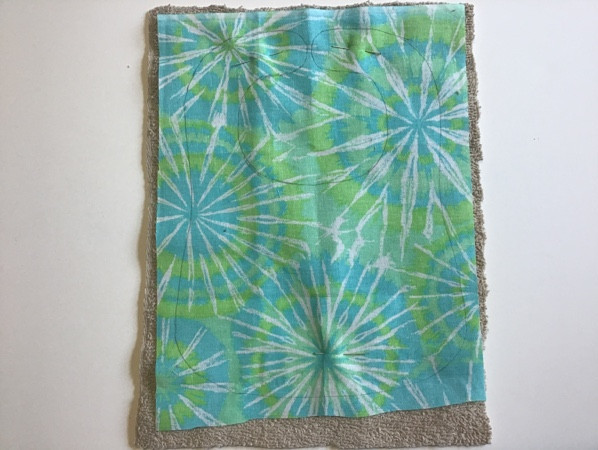
Step 3 – Stitch On
Stitch On the baby bib, straight stitching 3 mm, don’t forget to leave a gap to turn out the bib.

Step 4 – Cut Out
With the help of a good pair of scissors for fabric, cut out the baby bib, leave a seam of 3/8 inch all around.
Clip all the seam around with the scissors.

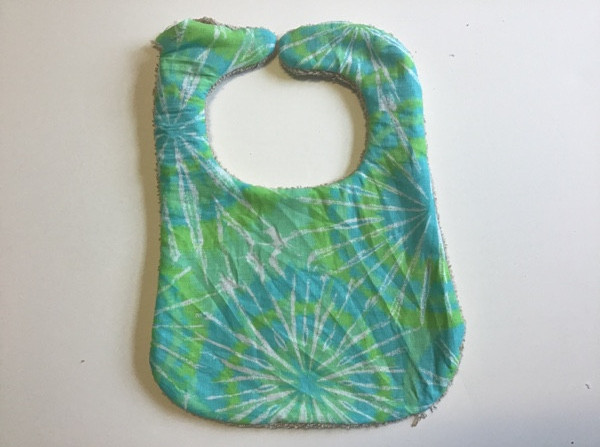
Step 5 – Turn Out The Baby Bib
On the picture below, you can see where I left the gap to turn out the bib, if you use a soft and thin fabric, it won’t give you any problem at all to turn out the bib, in case you use a towel for the back, it might give you some hard time to turn the piece out, take your time and pull out the piece soft and gently. Press the piece.
Step 6 – Top Stitching
It’s time for the top stitching all around the piece, at the time to top stitch the gap, be sure to push inside the seams.
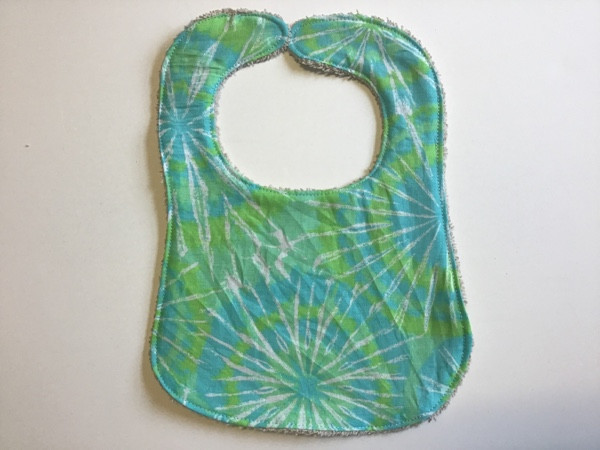
Step 7 – Sew On The Velcro
Sew on the velcro pieces on the top of the bib.

Step 8 – Add A Decorative Stitching Pattern
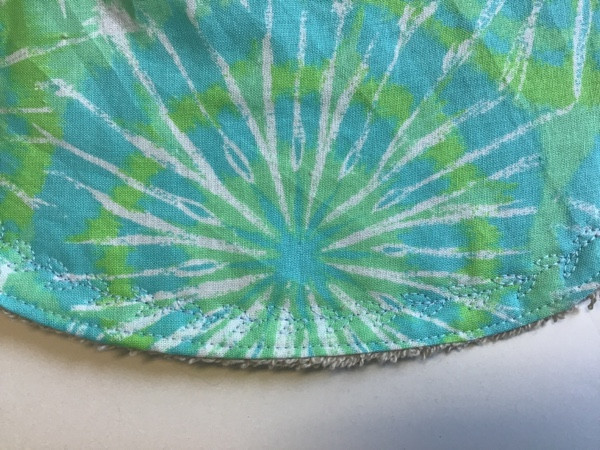
As a bonus you can add a decorative stitching pattern all around the bib.
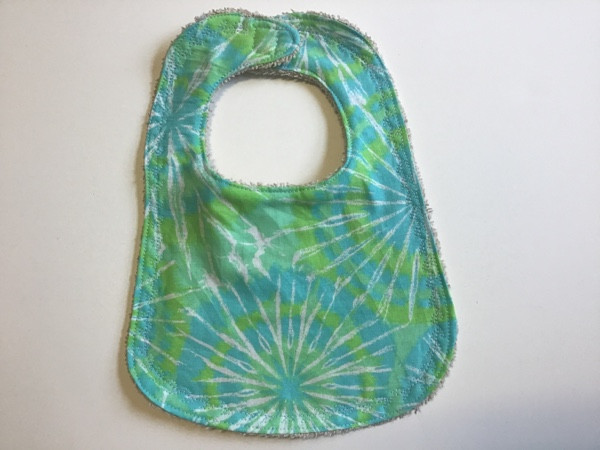
The decorative stitching pattern will add a nice touch to any sewing project.
You did an amazing job and the bib looks so cute!
What Fabric Is Best To Make A Baby Bib?
When you’re looking to make a baby big, the best fabrics to use are those than are soft and absorbs any liquid fast, like cotton, knits and flannel.
Any fabric than is soft to feel, easy to wash and fast to dry, will be perfect to make a bib.
You might also want to find a bright color fabric with infant motive prints on it.
How To Wash A Baby Bib?
Use any fabric than is easy to wash and than can be washed in the laundry machine on a regular cycle with regular laundry soap.
Look for a fabric easy to wash and fast cycle with bright colors and pretty prints on it.
Baby Bib Sewing Tutorial – Closing Thoughts
We hope you like this easy baby bib tutorial, we know you will be making more than one, for the little one at home or to give them as a handmade gift by you to your friends and family members!
Note:Don’t leave the baby unsupervised, when using the baby bib. Don’t add any buttons on the baby bib or any bead that can be a risk for the baby.
You can also read:
- Reversible Fleece Hat To Sew – An easy sewing project you will love and you will be making more than one!


I really love this sewing tutorial for a cute baby bib. A thoughtful, hand-made gift item is always so much more personal than something that is purchased and brought home from the store. It’s the perfect way to welcome a new baby into a home with a loving gesture. Thanks for sharing this sweet idea for a baby shower gift and rainy day project.