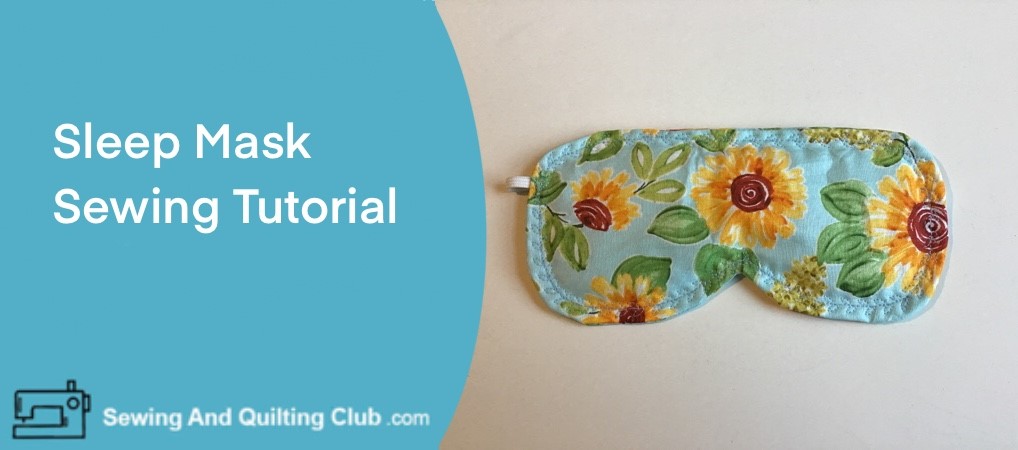
Sleep Mask Sewing Tutorial is made with an adult size pattern and it’s so easy to make that it will take less than 15 minutes.
 Whether you want to have a good night sleep at home or you need a sleep mask for your next trip, making one by yourself with this step by step tutorial is so easy that I’m sure you will be making more than one!
You can make the sleep mask with your favorite cotton fabric or with a piece of soft flannel!
Sleep Mask Sewing Tutorial
- 2 fabric pieces of 5 x 10″
- 1 batting fabric piece for the interfacing 5 x 10″
- 1 elastic piece of 11.5 or 12 inches
- Needle
- Polyester 100% thread
- Pins
- Scissors
- Sewing Machine
Sleep Mask Pattern
The pattern to make the sleep mask is so easy that it will take you only a few minutes to make it!

Step 1 Cut All The Fabric Pieces
Cut all the fabric pieces and press the two pieces of fabric.

Step 2 – Mark The Pattern On One Piece Of The fabric
Mark the pattern on one piece of the fabric on the back side of the fabric with a pencil or a pen for fabric. Make a mark with the pencil or with the pen on both sides of the pattern where the elastic piece should go.

Step 3 – Get The Sleep Mask Ready
Lay on your work table the batting fabric first and lay over it one of the fabric pieces, right side up, and lay over it the second fabric piece, right side down.

Step 4 – Put The Elastic Piece On The Fabric
Remove the top piece of fabric and set it on the work table, put the elastic piece on the fabric and pinch each end of the elastic with a pin on the fabric and the batting.

Step 5 – Get The Sleep Mask Ready For Sewing
Put back the second piece of fabric on top of the two pieces of fabric with the elastic, and pinch two pins where the elastic is and remove the pins you previously put in both ends of the elastic, pinch two more pins on the sleeping mask.

Step 6 – Stitch On All Around The Sleep Mask
Stitch on all around the sleep mask, but don’t forget to leave a gap on top of the sleeping mask.
I set up the sewing machine with straight stitching, 3 mm

Step 7 – Trim All Around The Sleep Mask
With a pair of scissors for fabric, trim all around the mask leaving a seam of 1/4 inch. Then with the same pair of scissors clip the seams on the curved seams.

Step 8 – Turn Out The Sleep Mask
Turn out the sleeping mask and with your fingers push out the seams from the inside. Fold the fabric inside in the gap, you can pinch a pin in the gap to keep the fabric folded as you do the top stitching.

Step 9 – Top Stitch The Sleep Mask
Top stitching the sleep mask on your sewing machine, you can do the top stitching with straight stitching or you can do it like me with an embroidery pattern on your sewing machine.
As you work on this step, you will notice how easy it is to pull to you a little of the elastic as you keep working on the top stitching.

The Sleep Mask Is Made!
In less than 15 minutes the sleeping mask is made! And it looks fantastic!

This is a sewing project great for any beginner sewer, but I’m sure anymore experienced sewer will find it a good project to make!
It is easy to make and you can use any piece of fabric you have been saving to make something small and cute with it.
I think the embroidery pattern is perfect for the top stitching.
The Best Sewing Machine To Make The Sleep Mask
As the sleep mask is made with a soft cotton 100% fabric, you won’t need any special sewing machine to make yours, you can make it with any sewing machine you already have at home.
The sewing machine I have at home is a Brother Computerized Sewing Machine, and I used the all-purpose presser feet and straight stitching and one embroidery pattern.
(This post is not sponsored by any sewing machine brand)
Make A Sleep Mask With Patchwork
 You can also make a sleep mask with any patchwork block you might have in the sewing room, or you can make one patchwork block using small pieces of fabric, it will add an extra touch to any sewing project!
How To Wash The Sleep Mask?
The sleep mask can be washed in the laundry machine in a regular circle if you use a piece of fabric made of cotton, linen or any other fabric that doesn’t require special washing. If you use any other fabric to make it, follow the washing instructions of the fabric you use to make it.
Can The Sleep Mask Be Pressed?
As I used a batting fabric that is for making quilts, you can’t press the sleep mask, at home if you like to press the sleep mask, you will need to use another type of fabric instead the batting fabric.
Sleep Mask Sewing Tutorial – Closing Thoughts
Nothing better to start sewing this year than an easy project that is made in less than 15 minutes and it will be useful for many.
Whether you need a sleep mask at home or when traveling, making your own is easy and will cost you almost nothing, as this is a sewing project that can be made with a small piece of fabric you might have already in your sewing room.
Choose a pretty fabric or a solid color fabric and it will look perfect!


Hello there, thank you so much for sharing this. this is a very awesome piece and a very detailed one. I’m really happy I came across this.Reading about this article sleep mask sewing tutorial sounds really exciting. I love wearing sleep mask whenever I’m asleep. Learning about how to sew it is so cool. I learnt a lot from this article