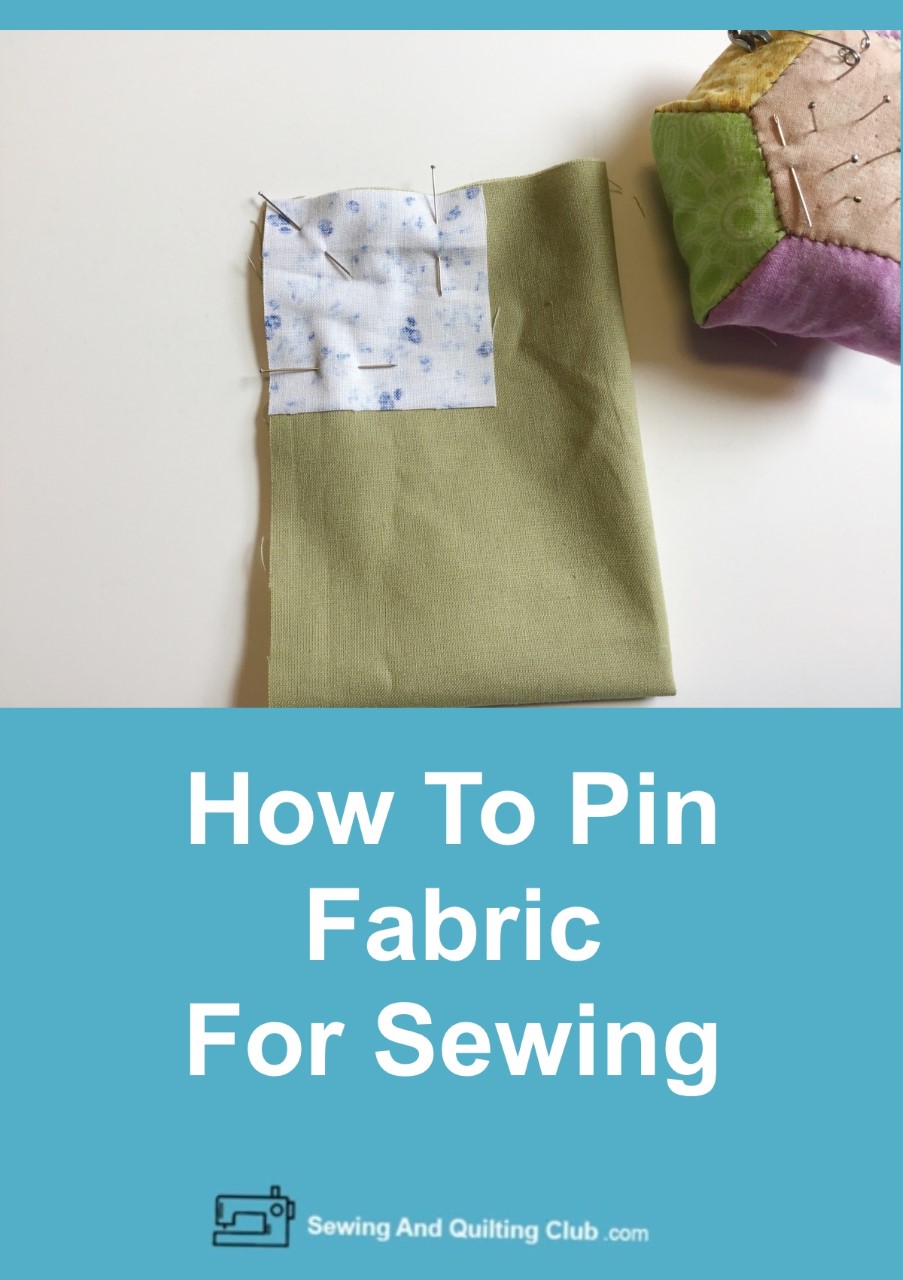
How To Pin Fabric For Sewing when you’re working on a sewing project and you want to get the best stitching results on every step.
When working on a sewing project, you will be working with two or more layers of fabric, to get the best results from your stitching, the best thing to do is to baste every seam before you run you’re sewing machine on that seam.
To be honest, basting takes a lot of time and you might end wasting some thread, for this reason, pinning your fabric could be the best option.
If you’re new to sewing, you’ll love to learn the easy steps to pinning your fabric and get your project well done on every seam, so let’s take a look to how to pin your fabrics.
How To Pin Fabric For Sewing
What Is The Best Type Of Pin For Sewing?
You won’t have any problem to find a good pins selection on the market, but you don’t need to purchase all of them to get the best results.
The best tip here is to get one box of pins of the best quality you can pay, Getting the best quality pins will help you to work with ease, as they are made of the best materials, pins will have sharp points to get with ease on the fabric and they can be used for many years.
You can buy the regular pins that comes with a small head, right length and width and you will be working with them great, or you can get some of the newest models that come with a flat head, and they are made also with the right length and width.
Avoid purchasing any cheap set of pins, just because they come with a color fancy heads, they are not good for sewing or quilting.
Related: Sewing Pins Guide And Their Uses
Pin Perpendicular To The Edge of the Fabric

Pining the fabric in a right angle to the fabric’s edge, is pinning perpendicular, it will help you to hold two or more layers of fabric while you sew your project on you’re sewing machine.
To make sewing easier using the perpendicular pinning, make sure the head of the pin is visible on the outer edge of the fabric, it will help you to remove the pins as you sew.
Some machines can jump pins while stitching, but some can’t, it will be better if you remove each pin as it gets close to the needle of you’re sewing machine. It will help you to keep the needle sharp and in good conditions.
In case you’re sewing machine hits a pin, you will need to check the needles point, in case you feel any nick in the needle, it will better to change the needle for a new one.
When the needle hits a pin, you will need to check the pin, in case it got bent, it’s always better to discharge the pin.
Pin Parallel To The Edge of The Fabric

Wether you are stitching on two layers or fabric or working on stitching a folded edge on your project, you can pin parallel the fabric.
Pinning parallel your pins on your project, means placing the pins along the stitching line.
You can place the pins on the seam allowance to get better results, but just don’t forget to remove each pin before reaching the presser foot, so the needle don’t hit any pin.
If you want to place the pins parallel, within the seam allowance, this might not help you to get the best results from your work. As this won’t prevent the layers of fabric to be moving as you work on your project.
How Many Pins Is Best To Place On A Seam?

It will depend on the length of each seam, if you’re working on a small project where seams are short, placing two or three pins will be enough.
When you work on big projects where seams are long, it’s always better to place as many pins as you feel your fabrics can be held without moving.
It will also depend on the type of fabric your working on, when working with thin or slippery fabrics, it will require to place more pins on each seam to get better results.
When the fabric is thick and heavy, it’s also recommended to place enough pins to help you to work with ease as you work on that project.
How To Pin Fabric For Sewing – Closing Thoughts
When starting to sew, pinning your fabric might be not the fun you might have in your mind as the best way to spend your time in your new hobby.
Sewers know well, when you love to sew, you love to have the best results you can on every project, learning how to pin your fabric every step on your new project, will help you to get the best results on any project you’re making.
As you keep sewing, the step of pinning your fabric will be done faster and better, then you will enjoy every moment you spend sewing!
If you have another tip when pinning your fabric, share it on a comment, it will help many sewers to get better results!
Happy Sewing!
Thanks for sharing our blog on your Social Media!


Loved the very informative post, Being a seafaring man I am accustomed to needlepoint mending dungarees sowing patches, and seaming the legs in which I became a genius pinner.
In fact, my shipmates would bring their dress uniforms to me because I had the secret of keeping stuff straight, it takes a secret weapon straight PIN.
Thank You,
Bill Wright
Oh wow, I never thought of putting the pins perpendicular to the fabric. Makes total sense. I have a sewing machine that I use every not and then to make items. The pins have always been an issue. I have always put them horizontal to the fabric! I see where having them face perpendicular is much better. Great advice!