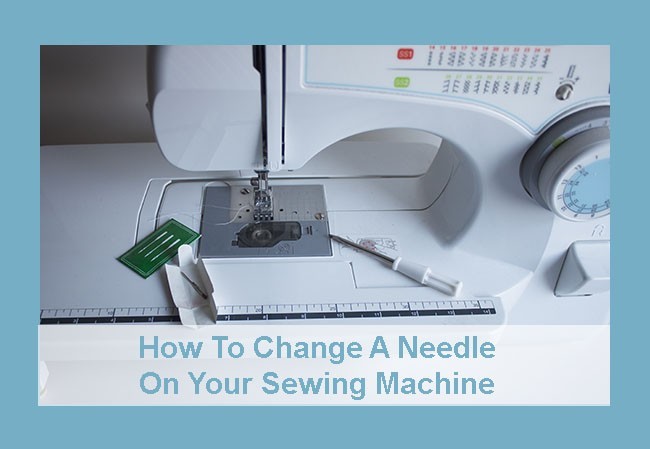
If your’re sewing machine needle gets dull or broken, and your find that your stitches are not up to good standards, then this article will show your How To Change A Needle On Your Sewing Machine.
Best Time To Change The Needle
 A new sharp needle will improve the quality of your stitching, so it is usually recommended o change it fairly often, or if it needs to be charged for sewing different fabrics such as leather, or something stretchy, or denim.
You might also want to check the service manual that come with your’re sewing machine to see the best times to change the needle or as often as 5 or 6 hours of use.
How To Change The Needle On Your Sewing Machine
How To Remove The Needle.
 1 – This is not a difficult job to do for anyone, but the first thing on your list is to turn off the sewing machine and even unplug it for safety.
2 – Raise the needle.
To take the needle out easily raise the needle to its highest position by turning the hand wheel at the back off your machine, or if your machine does not have a wheel, then make sure it’s at the highest position when your shut it off.
3 – Removing the needle
A knob or screw is usually used to hold the needle in place.
This could be located on the right or left side depending on the model of your machine so check the manual first.
The knob will have a slot in it for a small screwdriver to fit, if it’s too hard to turn by hand, and the screwdriver often comes with the sewing machine kit.
Once loose, the needle will drop out, so be sure your have hold of it otherwise your might be fishing it out of the bobbin case or just put a thin piece of fabric under where the needle sits first.
If the needle is bent or well-used just discard it, or if good shape, store it in your’re sewing machine storage box.
4 – Your new needle
The needle on most of the modern sewing machines will have a flattened side where it goes up to be clamped in place.
When installing it your might have to turn it a little one way or the other to slide up in where it is designed to go.
The flat part is where the knob or screw for tightening it lines up.
5 – Tighten the needle in place
Just hold the needle in place and tighten up the knob or screw and to make it good and secure use the screwdriver supplied with your’re sewing machine.
Then your can use the hand wheel to move the needle, and check for any free play in it before starting to sew again.
On industrial sewing machines the needle is typically round at the top, so requires more attention when fitting it in place, and if using other needles for sewing denim or leather, check your sewing machine manual first for the proper positioning of these needles.
How To Recycle Your Used Sewing Machine Needles
You also might want to check out your local town recycling facility, or scrap metal dealer for discarding your used needles.
Also, keep your used needles in a plastic medicine container and put an adhesive tag on the container “used sewing machine needles”.
Closing.
Changing the needle in your sewing machine often will help you to get better results on any sewing project, if you have some other tips at the time to change a needle, share it with all on a comment.


Hello. Awesome article, it really helped me.
You have put here the top 5 most useful steps to change the needle from the sewing machine. For me the hardest part was to remove the needle. I couldn’t srew it the screw who hold the needle in place. I was very scared not to break the support that holds the needle. I took a small electric screwdriver and I managed very quickly.
Thank’s a lot for this informations. Best wishes.
Hi,
Thanks so much for sharing a great tip on how to remove the needle when it’s hard to do it, by using a small electric screwdriver is a great idea, another great tool to add to my sewing tools 🙂
Thank you so much for this step by step tutorial on how to change the needle on my sewing machine. I have been having issues with mine for quite some time and I even gave up but I do feel ready to give it another go now. I had no idea that it is recommended to change the needle with around 6 hours of using time, this will surely make it easy to sew.
Great article and very helpful.
Hi Alexandra
I’m happy to help you to keep your sewing machine in the best conditions to help you to get the best results on any sewing project, yes, we need to change the needle around 6 hours of sewing time 🙂
Hello Alex. Thank you for sharing this step by step guide on how to change the needle on my sewing machine. The steps you have shown and directed us to follow is really simple and straight forward to follow plus you even added a video showing the whole process.
Best regards!
With what you have taught here, a beginner can easily change the needle on a sewing machine and not only change it but do it in the right way. Yes I agree with you that it is a good idea to change the needle as often as possible in order to always get a clean, professional and neat stitching.
Thanks you Techie for leaving a comment, by changing the needle as often as possible everyone will get better sewing results