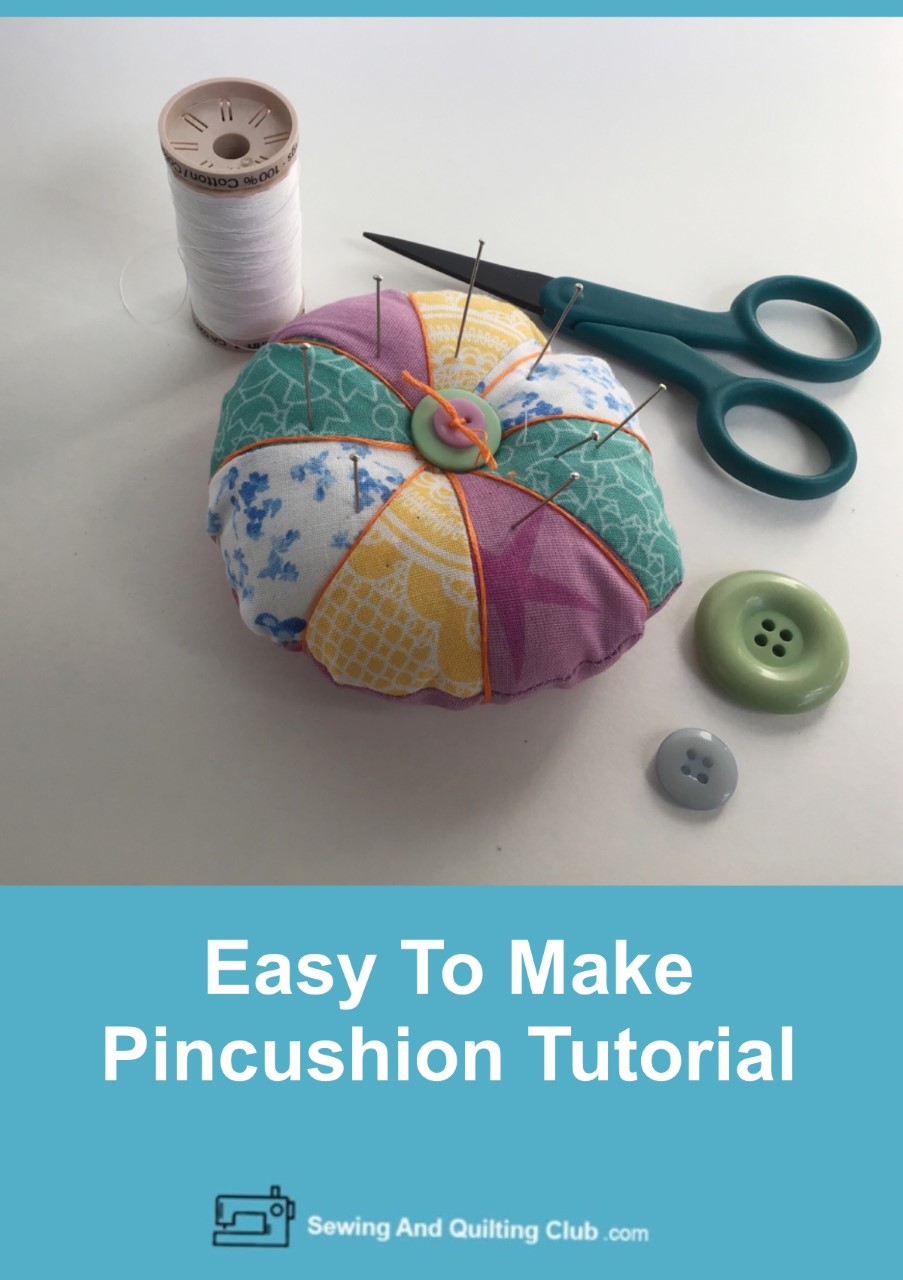
Easy To Make Pincushion Tutorial beginners and more advanced sewers will love to make to have all the pins in one place while you work on your sewing projects.
When you love to sew, one of the must have sewing tools to have all the time on your work table and next to your sewing machine are pins, the best way to keep them in one place and easy to take from one place to the other is a pincushion.
There are many different pincushion patterns where you can pick one to make, but today I will share the easy steps to make one with 4 different fabrics, an easy sewing project any sewer will love to make!
Easy To Make Pincushion Tutorial
Materials and Supplies
- 1 piece of paper A4 for the pattern
- 4 pieces of fabric in different color or prints
- 1 piece of fabric for the back of 5 x 5 inches
- Pincushion stuffing
- Scissors
- Pins
- Hand sewing needle
- Embroidery floss or perle thread
- Sewing machine
Easy To Make Pincushion Step by Step Tutorial
1 – How To Make The Pattern
On the piece of paper, trace a square of 5 x 5 inches, cut it out with the help of a pair of scissors for cutting paper.
Fold the piece of paper in half, and fold it again in half, open the piece of paper, and now fold it in half from the corners, it will show a triangle, open the piece of paper, and fold it again from the corners.
Open the piece of paper, and trace a circle on it of 4 inches diameter.
You will notice, you get 8 pieces the same on your paper, pick one of them and trace with the help of a pencil a seam allowance of 1/4 inch on both sides. This piece will be your template to cut all the pieces of fabric you need to make the pincushion, cut out the paper template with the help of a pair of scissors to cut paper, discard the rest of the piece of paper.
With the help of a pair of scissors to cut fabric, cut two pieces from each fabric.

2 – How To Stitch On The Top For The Pincushion
When sewing a circular piece with 8 parts, it’s always better to work on halves, lay on your work table the 8 pieces of fabric, and pinch pins to pinch the two halves, stitch on your sewing machine each half, and remove all the pins. Press.
Now that you have made the two halves, you can put together the two halves, pretty side to pretty side, and check the center matches, pinch a couple of pins and stitch on your sewing machine, remove the pins, open and press.

3 – How To Sew The Pincushion
Lay the fabric for the back on your work table, pretty side up, and lay over it the pieced piece, pretty side down, pinch two or three pins and stitch on the pincushion on your sewing machine, the top will be your stitching guide, stitch on with 1/4 inch seam, don’t forget to leave 1 1/2 inch open to turn it out.

4 – How To Turn Out The Pincushion
Trim the fabric for the back with a pair of scissors for fabric, the top will be the cutting guide, make small cuts with scissors on the seam all around.
Turn out the pincushion, and push gently the edge from the inside with your fingers, or with a rounded pair of scissors.

5 – How To Stuff Up Your Pincushion
When I was working on the stuffing of the pincushion for this tutorial, I started to stuff it with ground walnut and some sawdust, then I used some of the leftover from the batting fabric I use when making my quilts.
I noticed the ground walnuts and the sawdust on the bottom, make the perfect weight in the pincushion and the batting fabrics helps me to pinch the pins fast and with ease.
Once the pincushion is well stuffed, stitch to close the opening with ladder stitching.

6 – How To Decorate Your Pincushion
At the time to think about how to decorate your pincushion, I thought about using embroidery floss from the center on the top to the center on the bottom and pass the embroidery floss on the seams between each part, this might be the traditional way to decorate a pincushion. Tie a knot on the top and cut the thread, the knot will be covered with the buttons.

7 – How To Finish Your Pincushion
With a new embroidery thread on your needle, this time I’m using a long needle used for stuffed toys and dolls, sew two buttons on the top, leave a piece of thread when you start sewing the buttons to tie a knot, just the way the quilts are quilted with knots, cut the embroidery thread 1/2 inch long.

The Easy To Make Pincushion is finished and is ready to pinch a few pins, I hope you had fun making it with the step by step tutorial!
How Many Pincushions Do You Need?
When you love to sew, you might start having one, but as you keep working on different projects, you might want to have at least two of them.
One can be bigger to hold all your pins, needles and safety pins in one place, and you might need a smaller one to take with you to your sewing classes or retreats.
How Much Stuffing Should You Put In Your Pincushion?
Stuff the pincushion enough to get the right weight to stay in the place where you place it while you work on your project, and make it light enough to be easy to grab as you keep working on your project.
When you’re working on a sewing project, you might be taking your pincushion from the worktable to the sewing machine, for this reason, it should be the right size and weight.
Making a Pincushion As A Gift For A Friend
When love to sew, and you also have a friend (s) who like to sew, making one pincushion will always be appreciated and it won’t take too long to make it.
Easy To Make Pincushion Tutorial, Closing Thoughts
When you love to sew, you always can buy a pincushion already made, but as you keep working on your projects, soon you will have enough scraps of pretty fabric and you might want to make something with them.
Making a new pincushion with those pretty scraps of fabric is always a good small project to make and you will have fun picking the prettiest scraps to make it!
We hope you have fun making your own pincushion as much as we did!
We thank you for your interest of keep reading our blog, if you have another idea to make a pincushion to get all the pins in one place, tell us about it on a comment, we love to read your opinion!
Thanks so much for sharing our blog on your Social Media!


Hi Alex. Thank you for another great article. Your blog always is inspiration for me and gives me great new ideas. Pincushion looks really nice and useful, and your instructions are clear and easy to follow. Looking forward to test your project in practice.I will try it for myself, and if its as easy as it looks I will use your pattern to learn my niece something new.
Hi Alex. Thanks for a useful product that i really need. When i am sewing I find myself sticking the needles all over the place and sometimes cannot find them, or on a few occasions I get stuck trying to retrieve. I remember my mom used to use pin cushions and I am thinking that I should make one for myself using the instructions. Thank you for this reminder
Oh wow I’ve always wondered how things like this were made. There’s some great ideas here that I will give to my friend that loves this sort of thing. She’s always looking for new projects to get her teeth into, this would be right up her street, thanks for sharing.